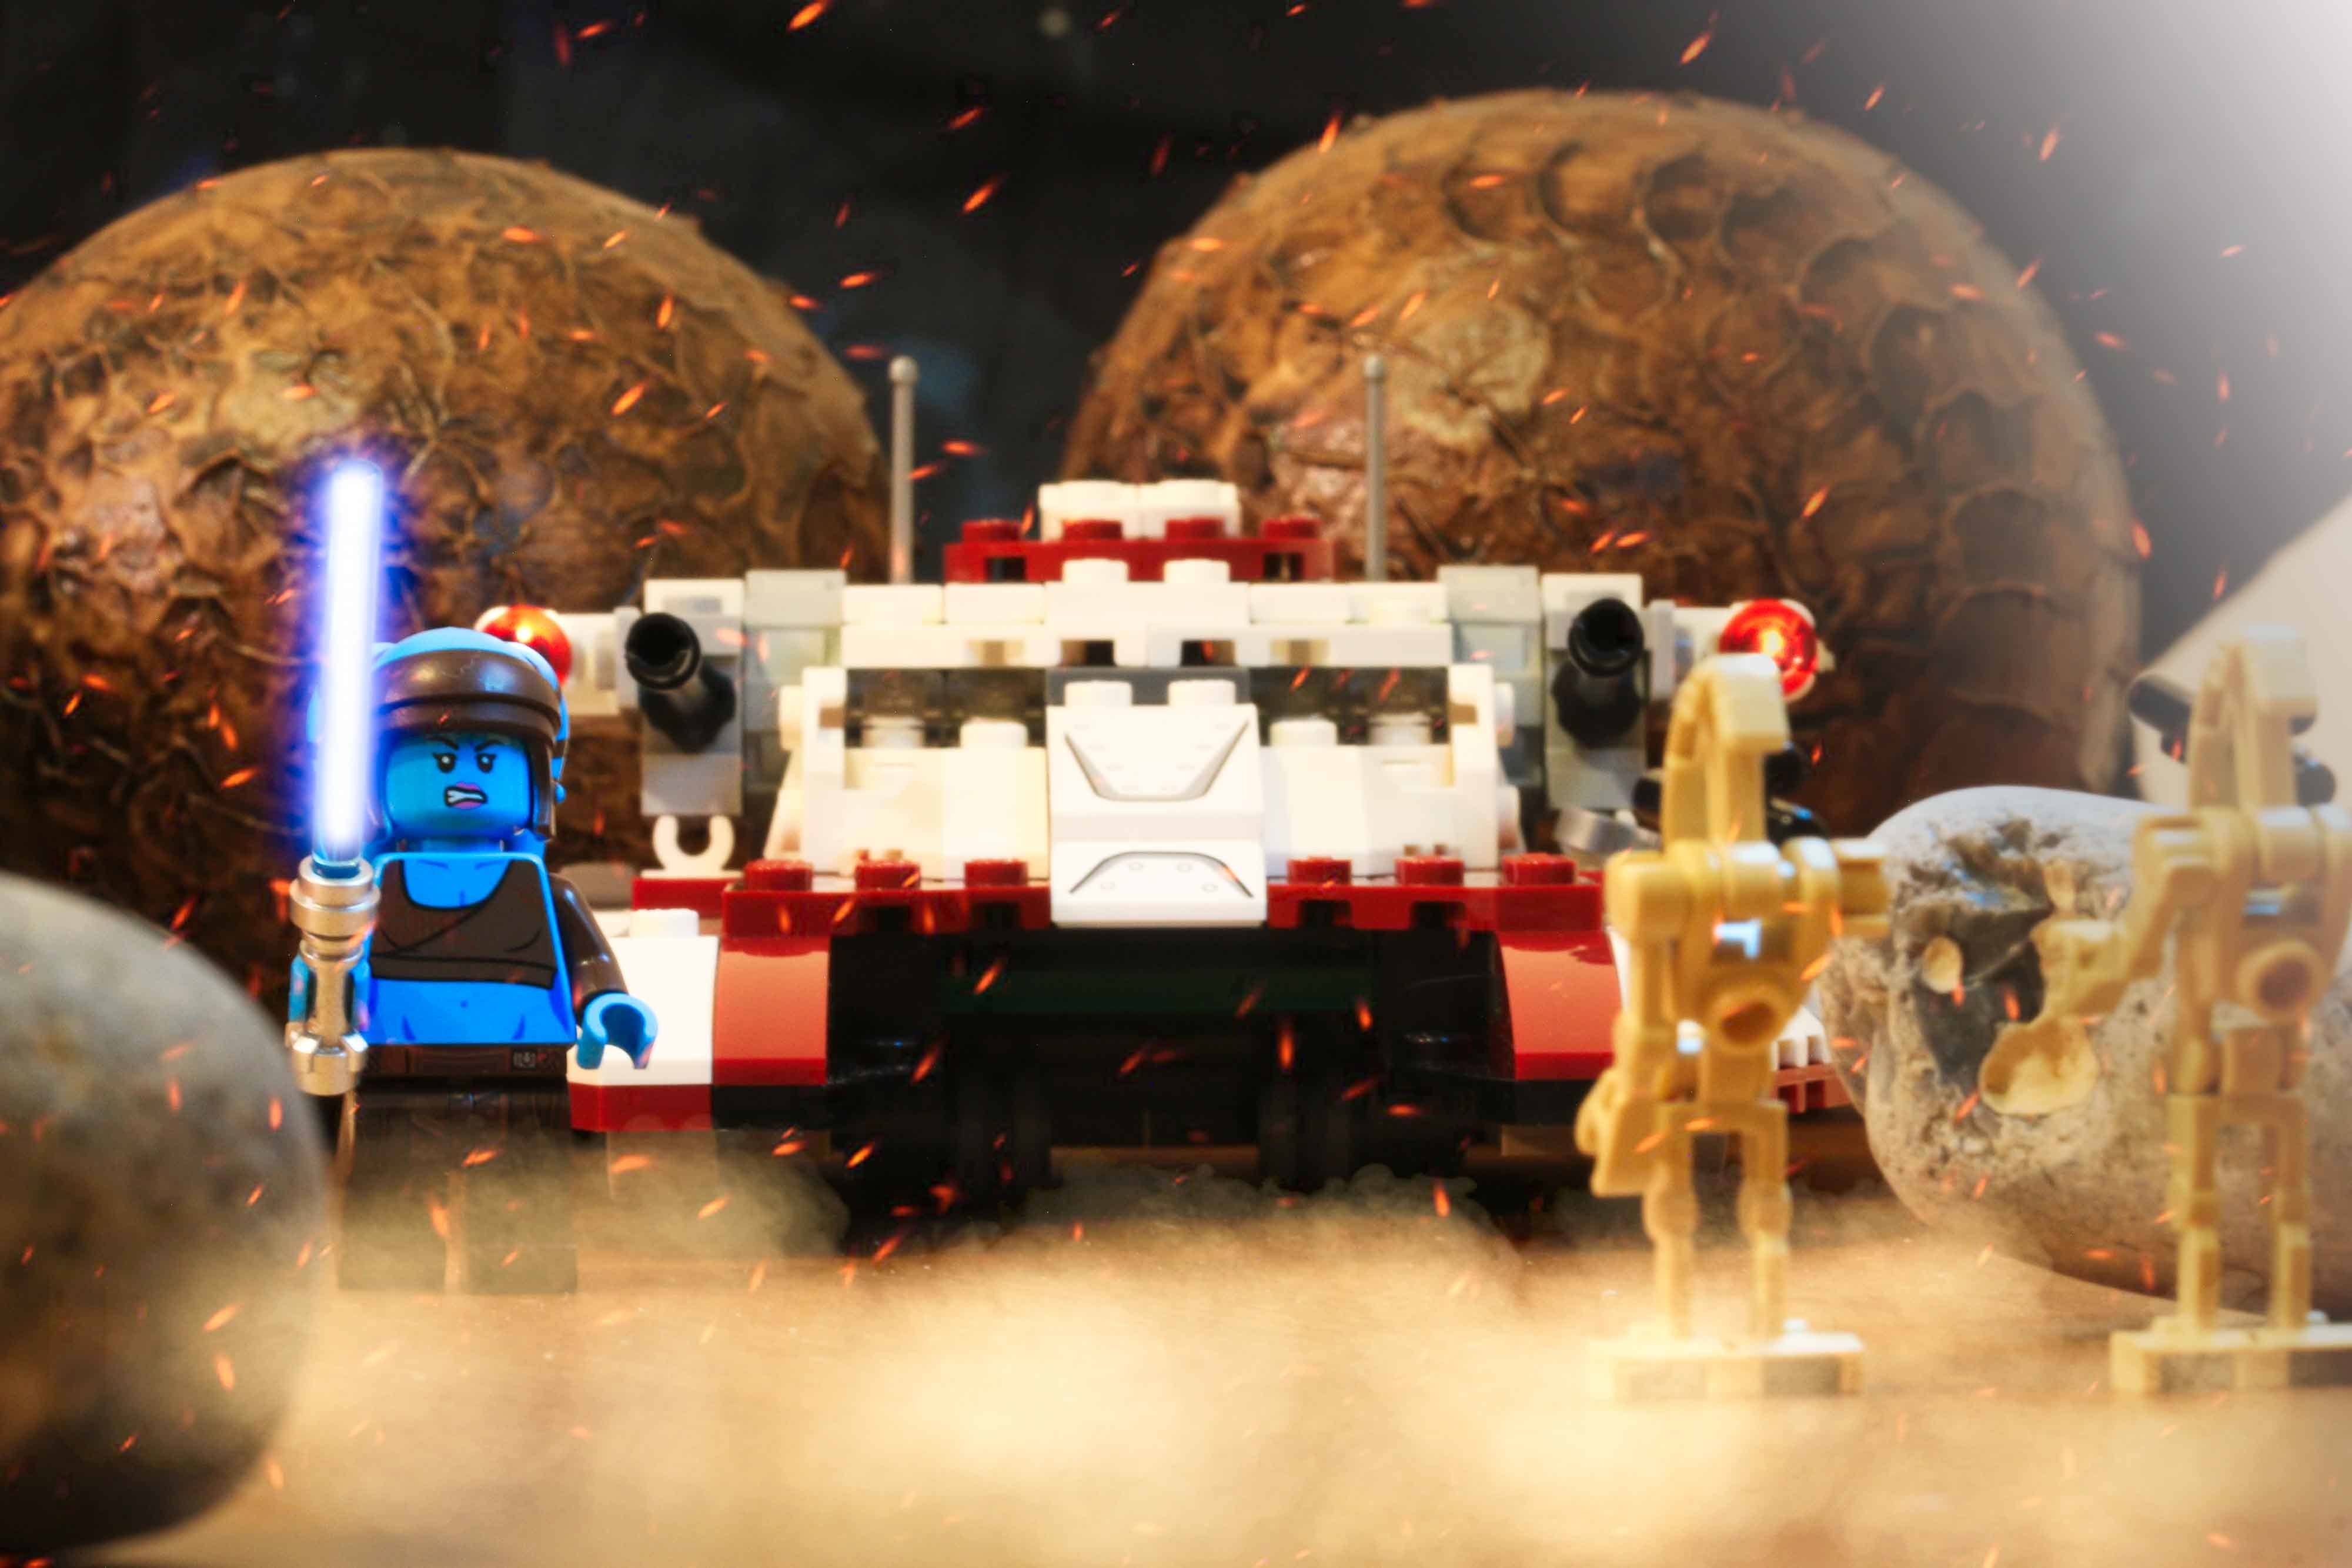
Aayla Secura Battle Behind The Scenes
As you’ll know, I recently got the Lego Stars Republic Battle Tank and with it an Aayla Secura mini-figure. It only seemed right to make a picture based on this set.
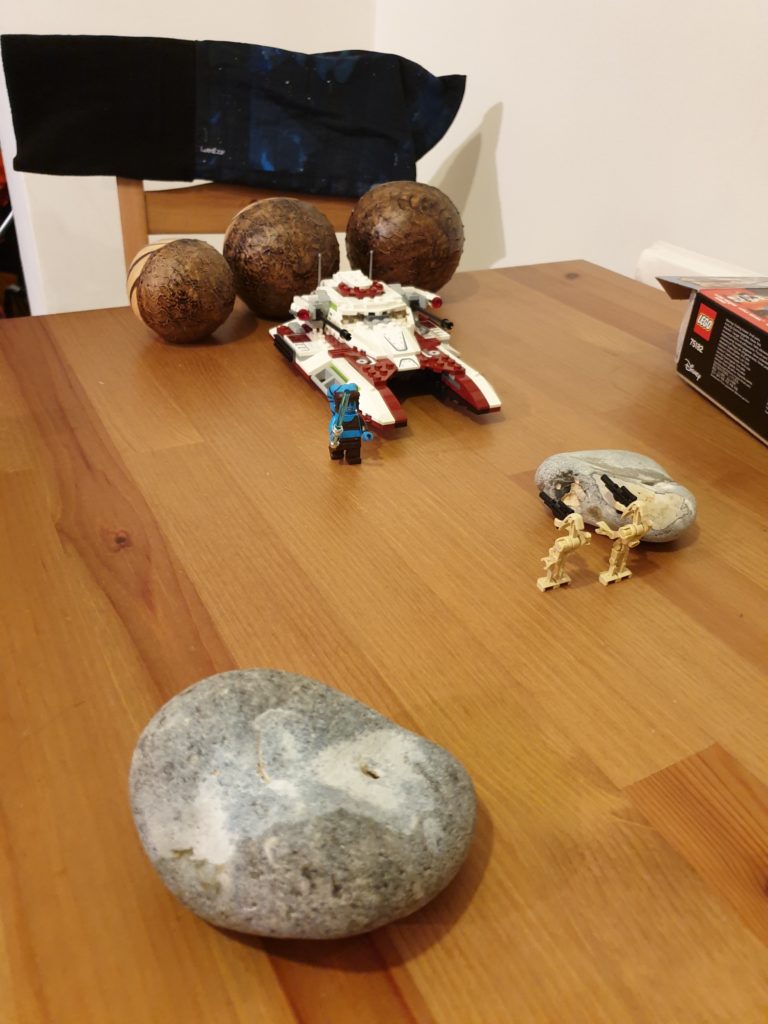
As you can see above, I set it up on my kitchen table. I used the two battle droids included with the set and arranged them in opposition to the tank and Aayla Secura.
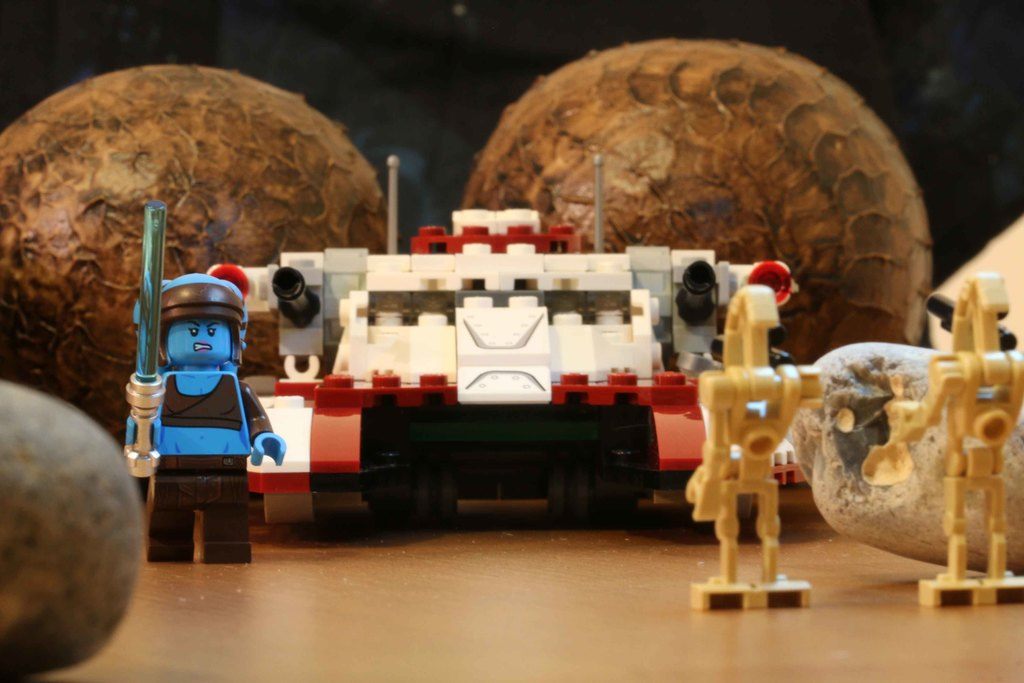
I took quite a few angles and made adjustments to the mini-figures and tanks. In the end I settled on this image to edit.
Photoshop
And so into photoshop elements.
My first task was to slightly increase the brightness and contrast and add a hue/saturation adjustment layer to bring out the blues in our main character.
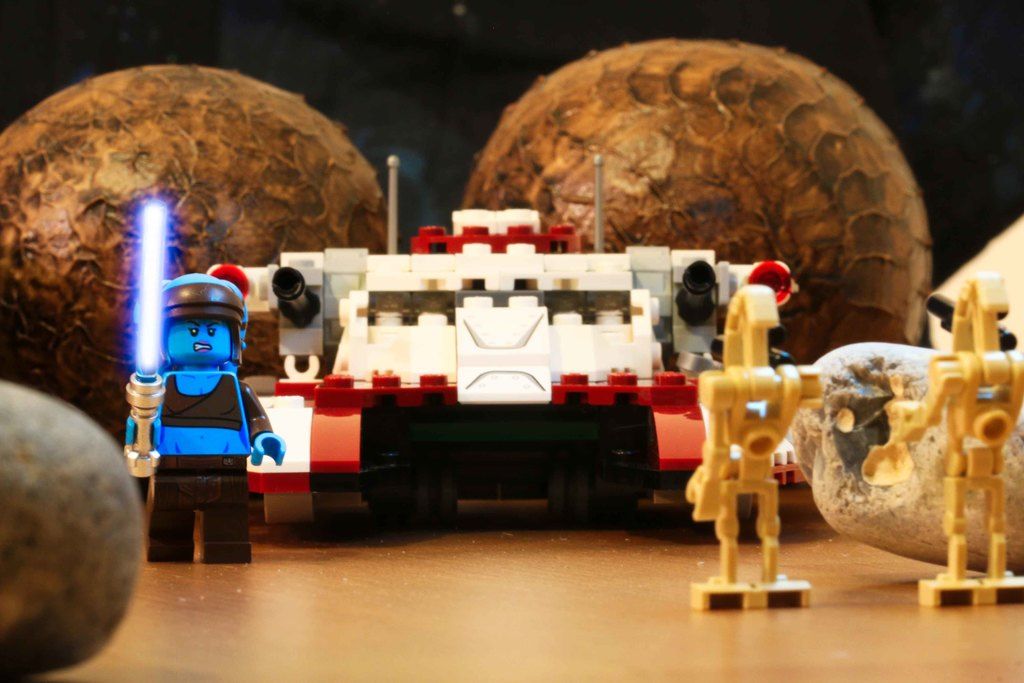
I added a new layer to create the light sabre effect. In case you haven’t read previous posts, use the brush tool to draw a white line over the light sabre. Add a little gaussian blur. In layer settings add glow with a blue colour to create the effect. Usually I add some sparks but in this case I preferred it without so I left it there.
Next I used the “place” function to add dust and sparks to create the feel of the battle raging.
I used a new layer to add a gradient to the top right corner. This was a white to transparent layer aimed to have a light source from that direction. I also slightly reduced the opacity of that layer.
Finally, I added a colour dodge layer to brighten the canon’s on the tank. This was to add to the star wars effect and make them ready to fire.
The droids don’t stand a chance.
The Final Image
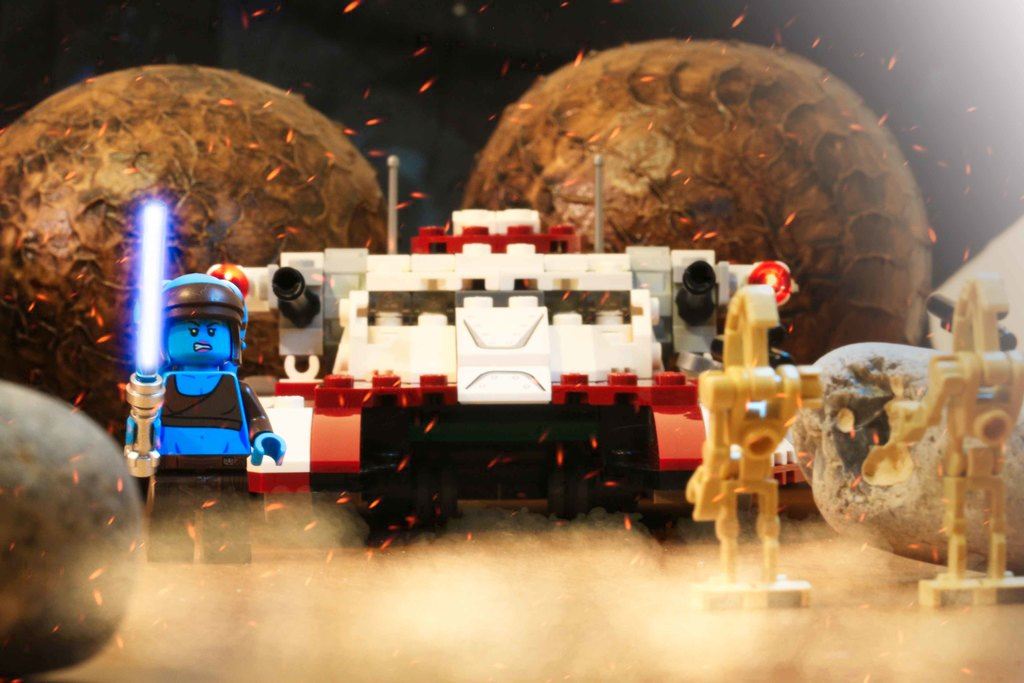
Here is the final image. I hope you like it. As you can see it was fairly easy to create and I must admit I enjoyed myself.
What would you have done differently? I’d love to hear from you.