
Defending the Base – Behind The Scenes
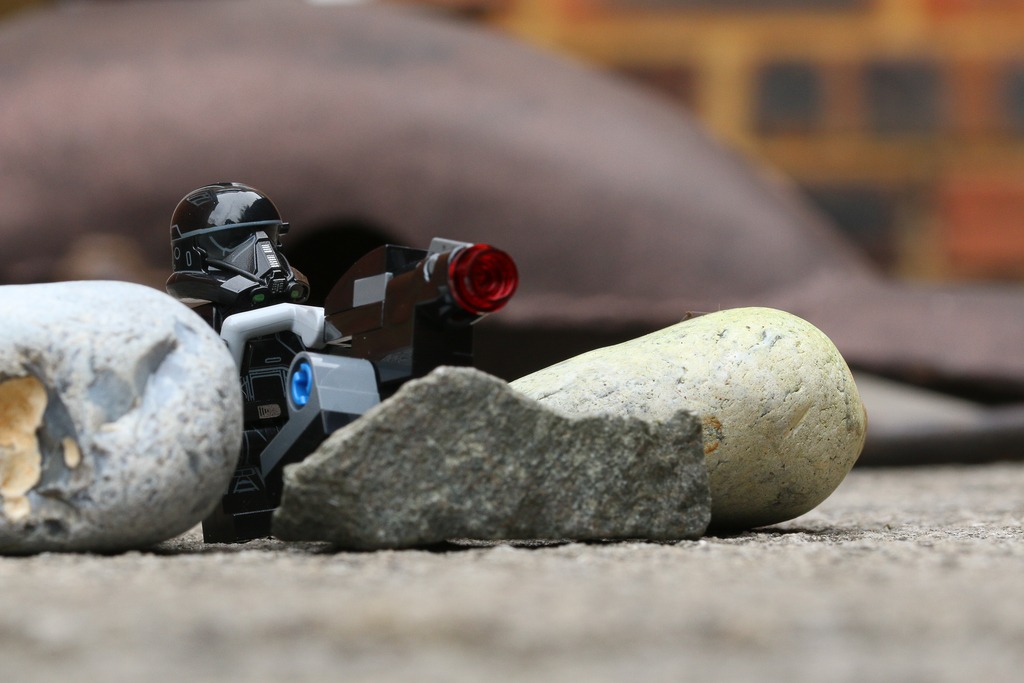
I have been inspired by quite a few lego star wars images lately so I decided it was time for me to have a go. My idea was a star wars character defending a position with a canon that I’d got from the Lego Star Wars Advent Calendar. To do it I created a defensible position using some rocks in my garden. Then, I set up a death trooper with the canon. Originally the background was the wall of my house but I didn’t like the colour so I put an ornamental duck watering can on it’s side. This was much close to the effect I wanted. I knew it would be out of focus but it had a better texture that I was looking for.
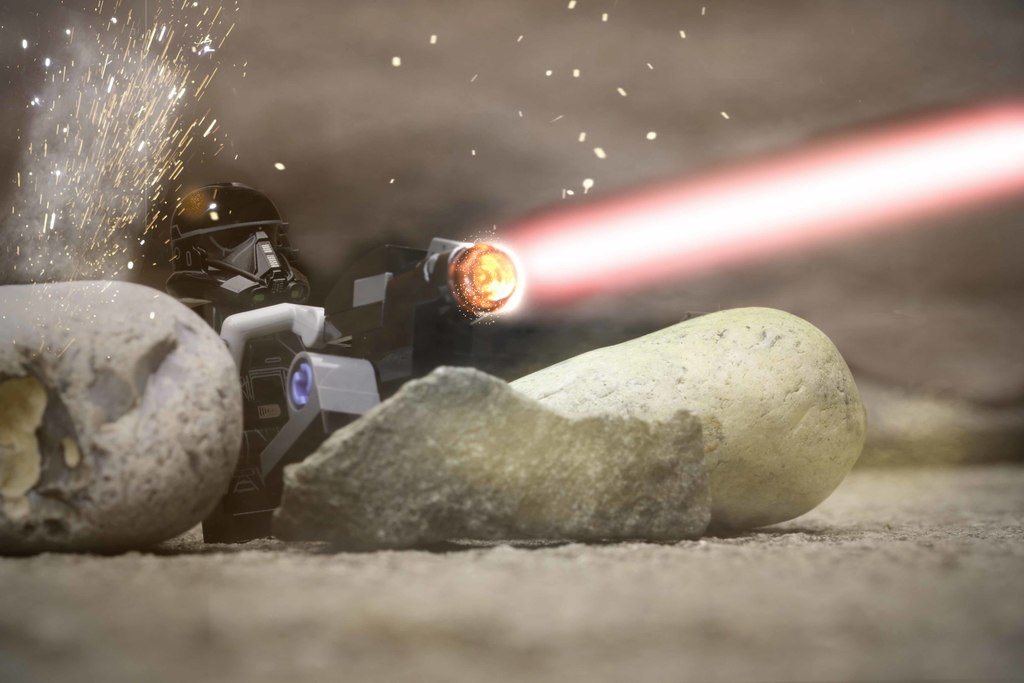
Here is the image I decided to use for this picture.
Cleaning Up
Using photoshop my first task was to get ride of the bricks. The clone stamp tool did a great job of painting in the texture and removing what is clearly a wall.
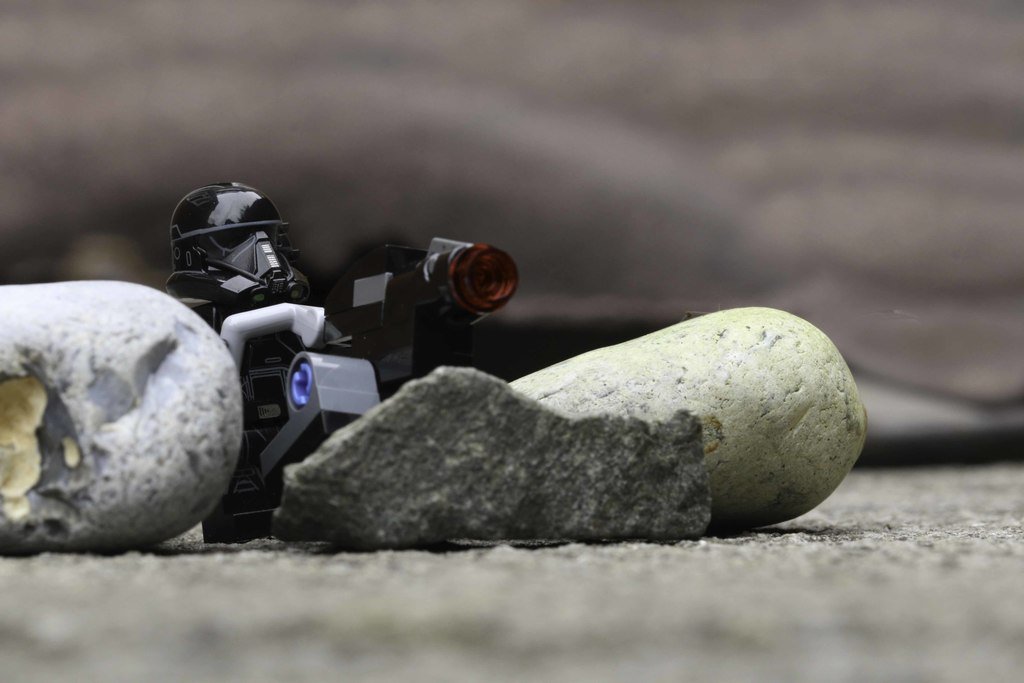
Anytime I do lego photography there is a reflection which, as you can see, is on the Death Trooper’s head. If you look you’ll see a window and a cloudy day. My next task was to remove this, again with the clone stamp. However, once I’d done that I felt the helmet was a little too black and didn’t look quite right. I tried to put a gradient layer on to add some light reflection to the helmet. I made it 5% size and reduced the gradient to 50%.

The Effects
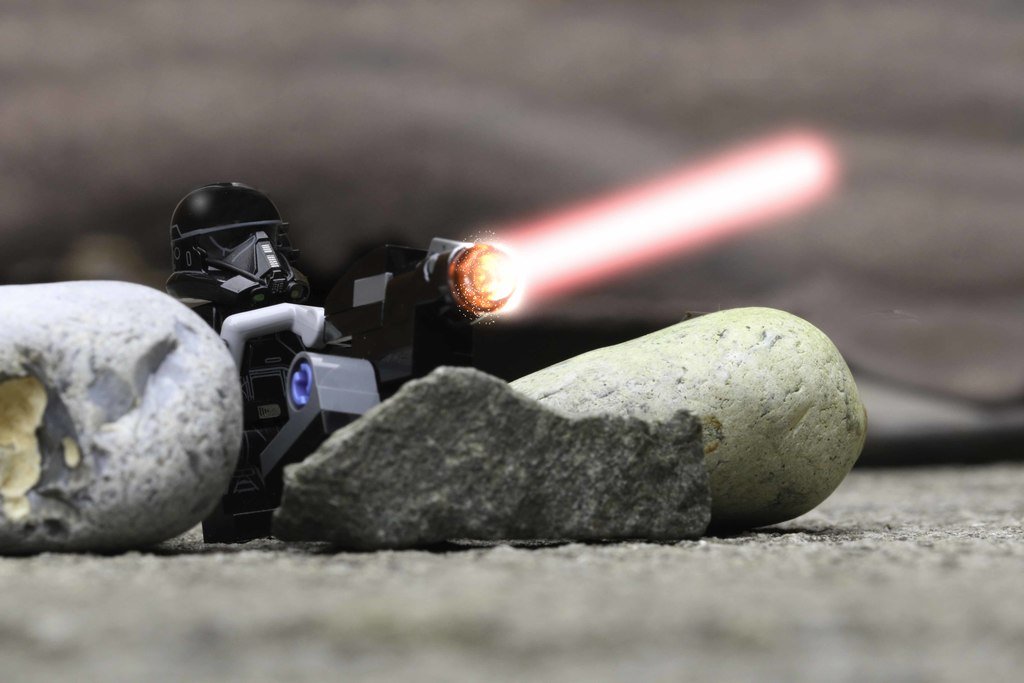
At this point it is time to start adding the effects. Firstly, I made the blaster using a new layer. Holding shift and brushing a white line from the blaster to just over the edge of the rock was all it took. I added some gaussian blur and a red glow round the outside. Then I placed some sparks around the turret to make it look a bit more star warsy. Finally, I used the colour dodge brush on the turret to bring out the colour and make it look like it was actually firing a beam. That, with the sparks made it look how I wanted it to.
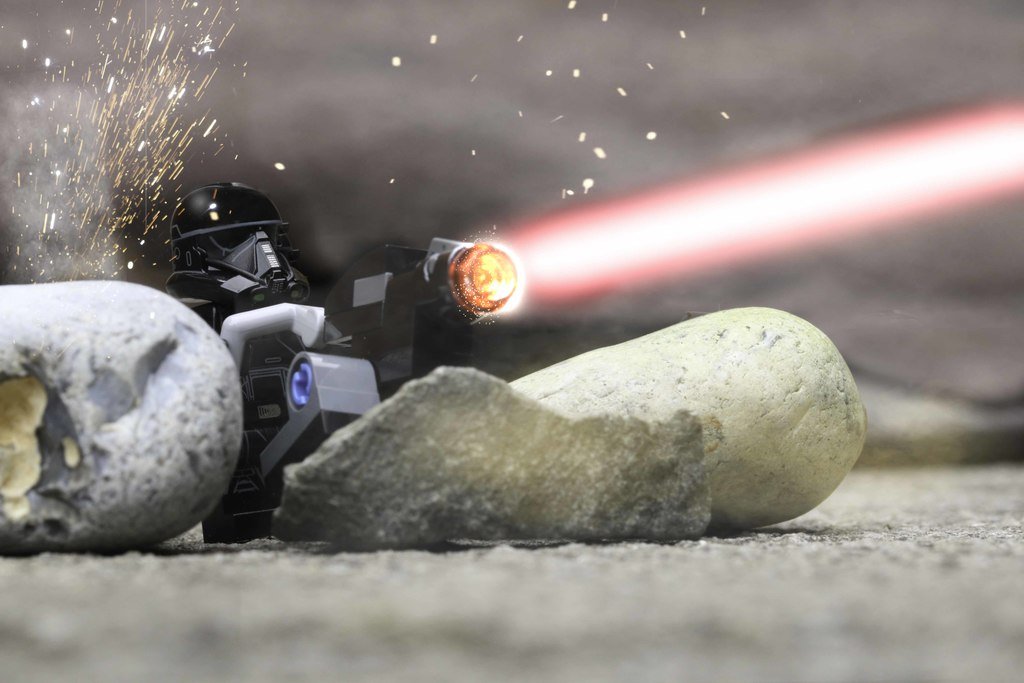
I continued by adding some sparks and dust to the overall image. It needed some atmosphere and to feel like a battle was raging. I also added some fog – all blended in screen mode – to really create the effect.
For each layer I used the brush tool to clean the edges and remove unwanted dust, fog and sparks.
It was at this point that I extended the laser beam. It just wasn’t quite right so I extended it out of the frame. I also decided I didn’t like the gradient fill layer on his helmet. Instead I put a sparks image on it and made it small enough to appear to be a reflection. I brushed in some orange in screen blend mode at 40% opacity to give it a glow. I’m much happier with this effect than the gradient fill.
Finishing Touches
Finally I added a gradient fill from black to transparent with an orange hue. I originally tried it with blue but I preferred the orange because it complemented the battle field effect I was going for.
I hope you like the final image. I’d love to hear what you think and what you would have tried. Thanks for reading.