
Dr Strange and his Magic Portal
I recently re-watched Dr Strange and I can confirm it is still a great film. So, my next project was to create a lego Dr Strange with a magic portal. I have used Dr Strange before and I really like the possibilities this character has for editing. I suspect I’ll be using him again too.
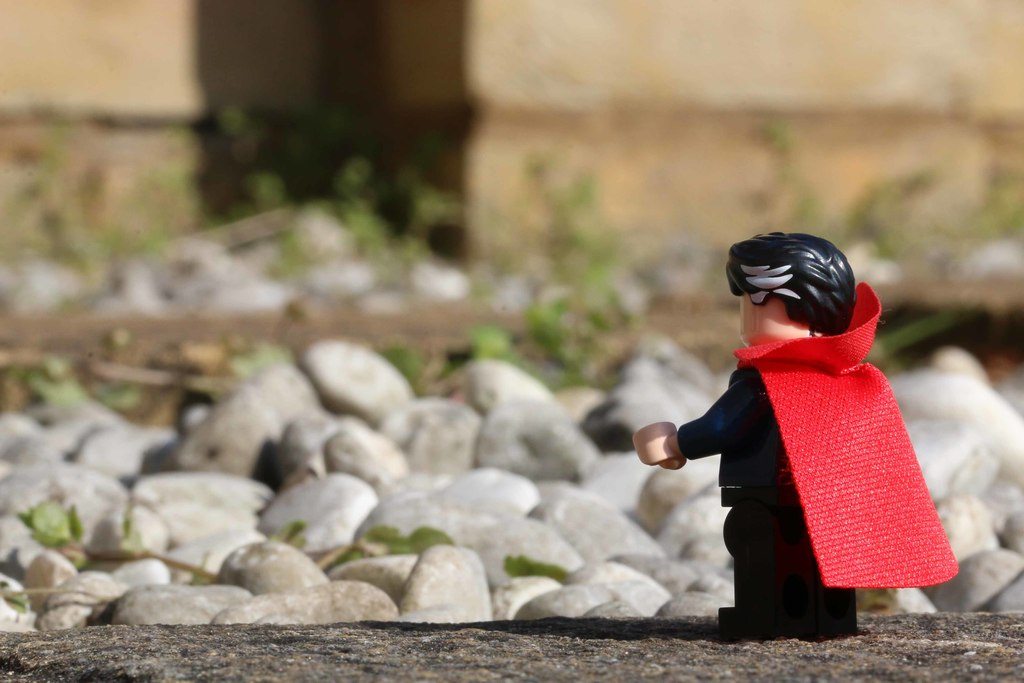
I set up my shot in my front garden with a background of rocks and brick wall. I had to take quite a few angles from behind the lego Dr Strange because I wasn’t sure which angle would work best for editing. In the end I settled on this shot.
Never having made a portal before I found a tutorial on youtube by AF Toys. I recommend you check it out.
The Portal
Following the tutorial I first downloaded the files and placed a portal into the scene. I used the free transform distort first, then perspective – the opposite to the tutorial but that’s how I’m more used to using that tool. I also used the foreground brush tool to smooth out the edges.
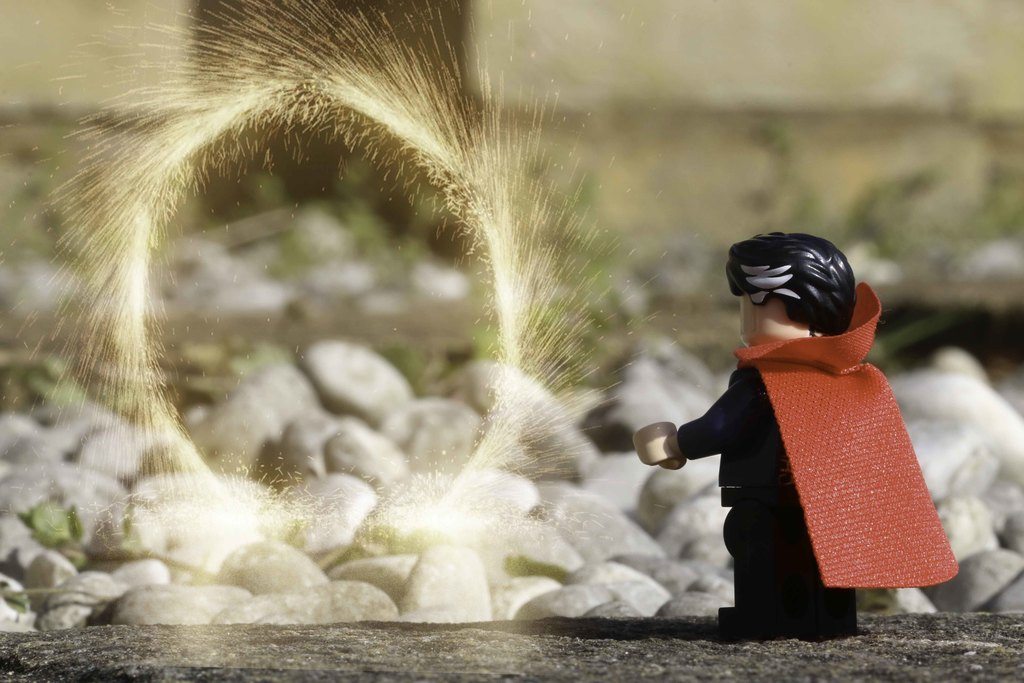
I created the brightness adjustment but for me it was quite a bit more than the tutorial until I was happy with it. In fact I adjusted it to -60.
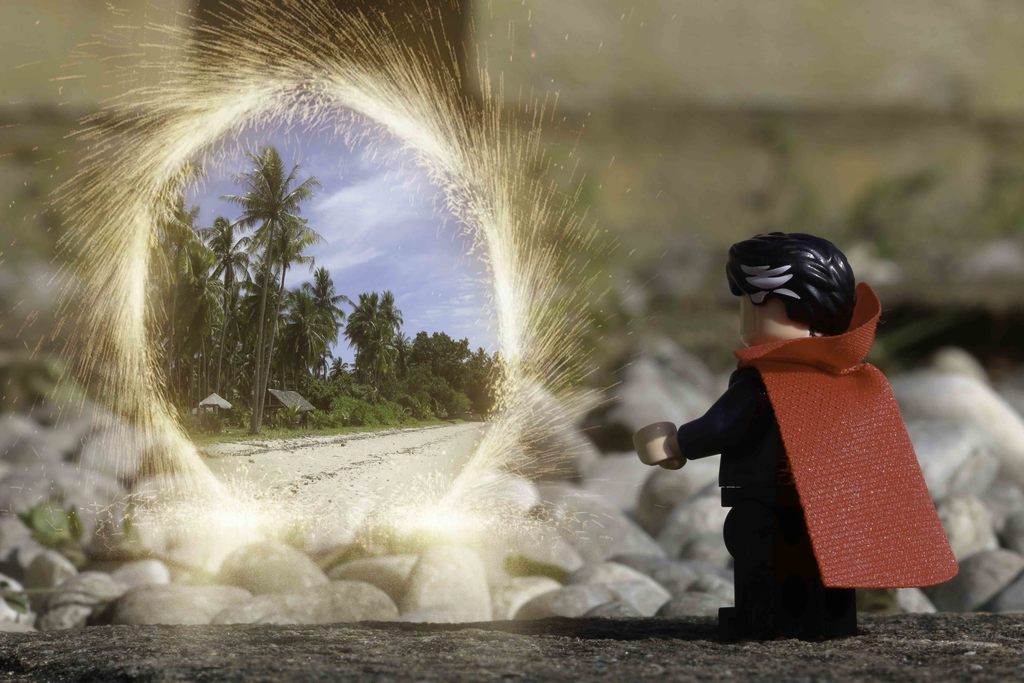
My idea for this image was getting away to a happy place. So I placed a picture of a beach over the portal. I made a layer mask and used the black foreground colour to brush around the outside of the portal. That left the beach inside the portal.
Using a new layer I brushed some organs around the portal and set the blend mode to overlay. I reduced the opacity to 20% to create the glow In the tutorial he suggests duplicating the layer and setting it to screen blend mode. I tried it but just felt it was too much so I ended up deleting it and using just the overlay layer.
At this point I deviated from the tutorial. He suggests going into lightroom to make final adjustments. However, as I’m far more comfortable with Lightroom I decided to stay in photoshop instead. I added and hue/saturation level and adjusted them to suit my tastes. Then a levels adjustment layer again to suit my tastes. I also went back to the background layer to adjust the highlights and shadows.
The Final Image
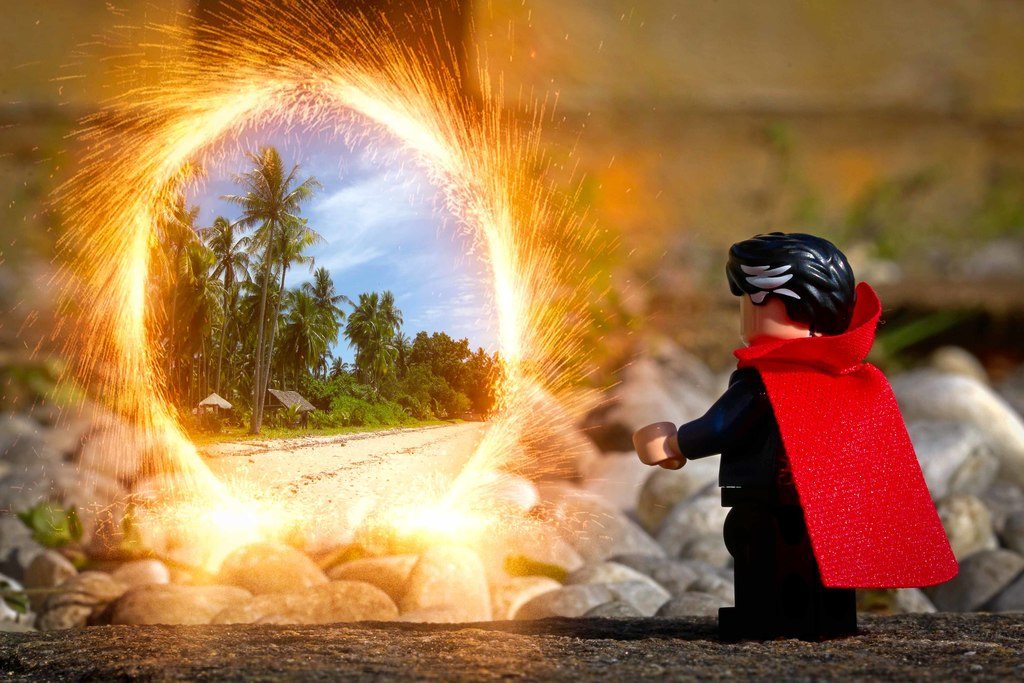
Overall, I’m quite happy with how it turned out. It was a great tutorial, and along with other tools I use more regularly anyway, I found it fun to create. I hope you like the image and as always I’d love to hear your thoughts. What would you do differently?
Check out my review of the Sanctum Sanctorum.