Garmadon Resurrected – Behind The Scenes
As you know Lord Garmadon is one of my favourite mini figures. Add to that how much I like the Temple of Resurrection and you have a receipt for a photograph.
If you’ve seen the temple and read my review you’ll know that Lord Garmadon is resurrected by Princess Harumi in the temple. There is a mechanical movement of the roof to reveal Garmadon in the flames.
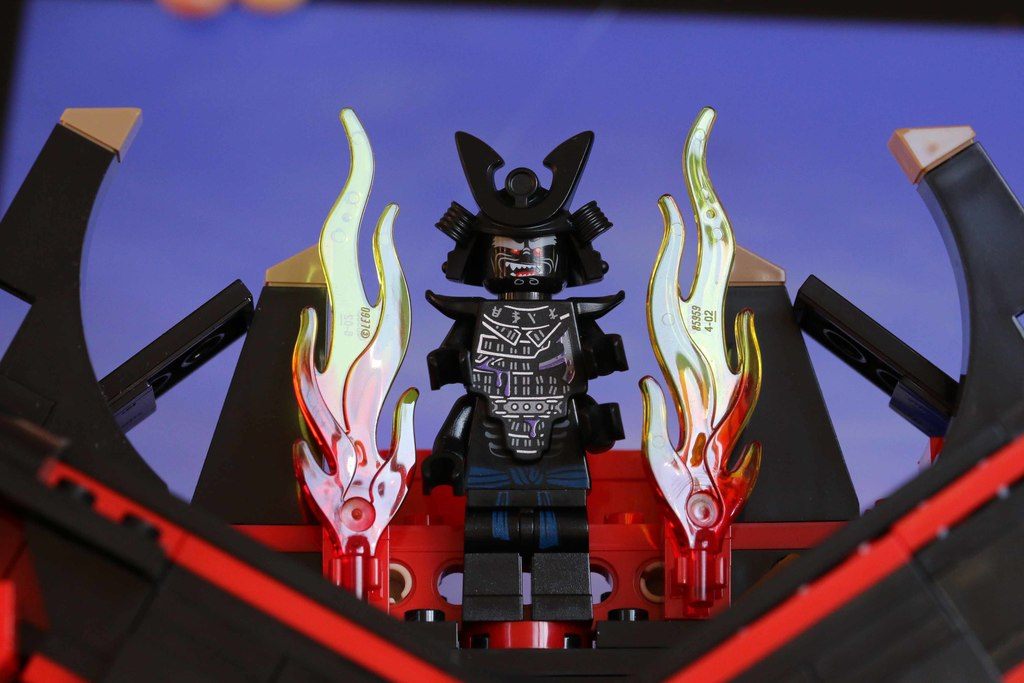
I set up the character on the temple and used an iPad to create a nice blue background. Here is the shot straight out of camera.

As you can see the colours are fairly dull and you’ll notice two little fingers holding the iPad.
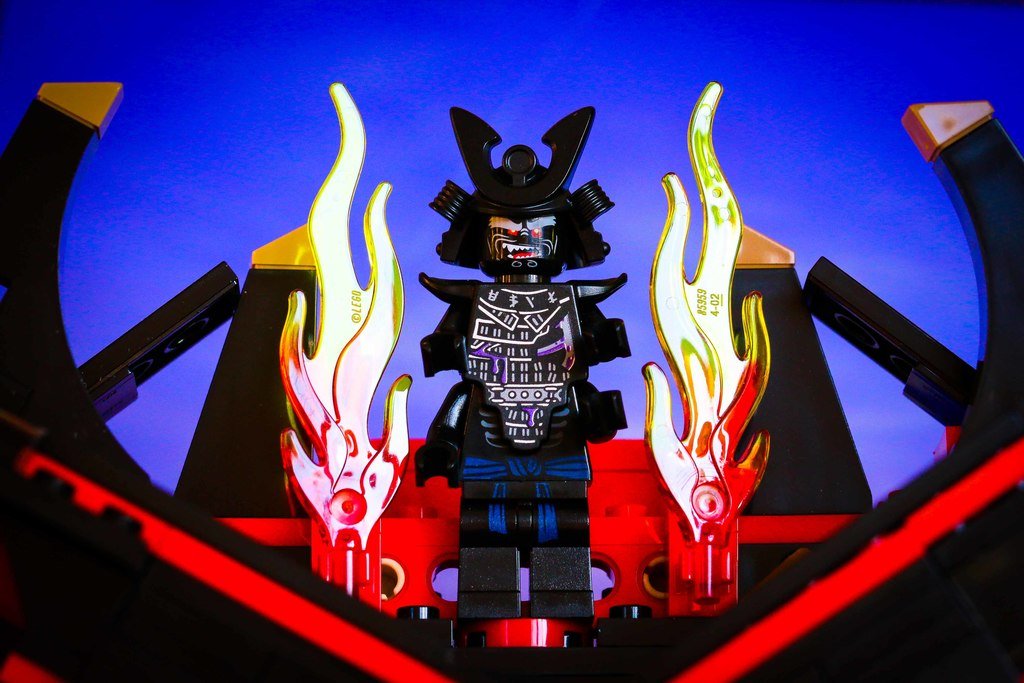
Lightroom
The first thing that needed doing with cropping the image to get ride of the fingers and straighten the image.
Next were the basic adjustments. I added some exposure, took out some highlights and added some shadows. It needed some saturation and vibrance as well.
If you take a look at the original shot you’ll notice there is some reflection on his left eye. I used the adjustment brush to remove that then made a few adjustments to the tone curve.
Lastly I added a vignette and it was time to head over to photoshop with this image.

Photoshop
At this point things started to go wrong. I tried to use the place function to add flames over the lego flames. But I kept finding the exposure on the original image was too overpowering for the png. What I should have done (if only hindsight didn’t kick in sooner) was use the selection tool and reduce the exposure and the carry on. Instead I went back to Lightroom and used a radical filter to darken the two lego flames. Then I headed back to Lightroom with this image.

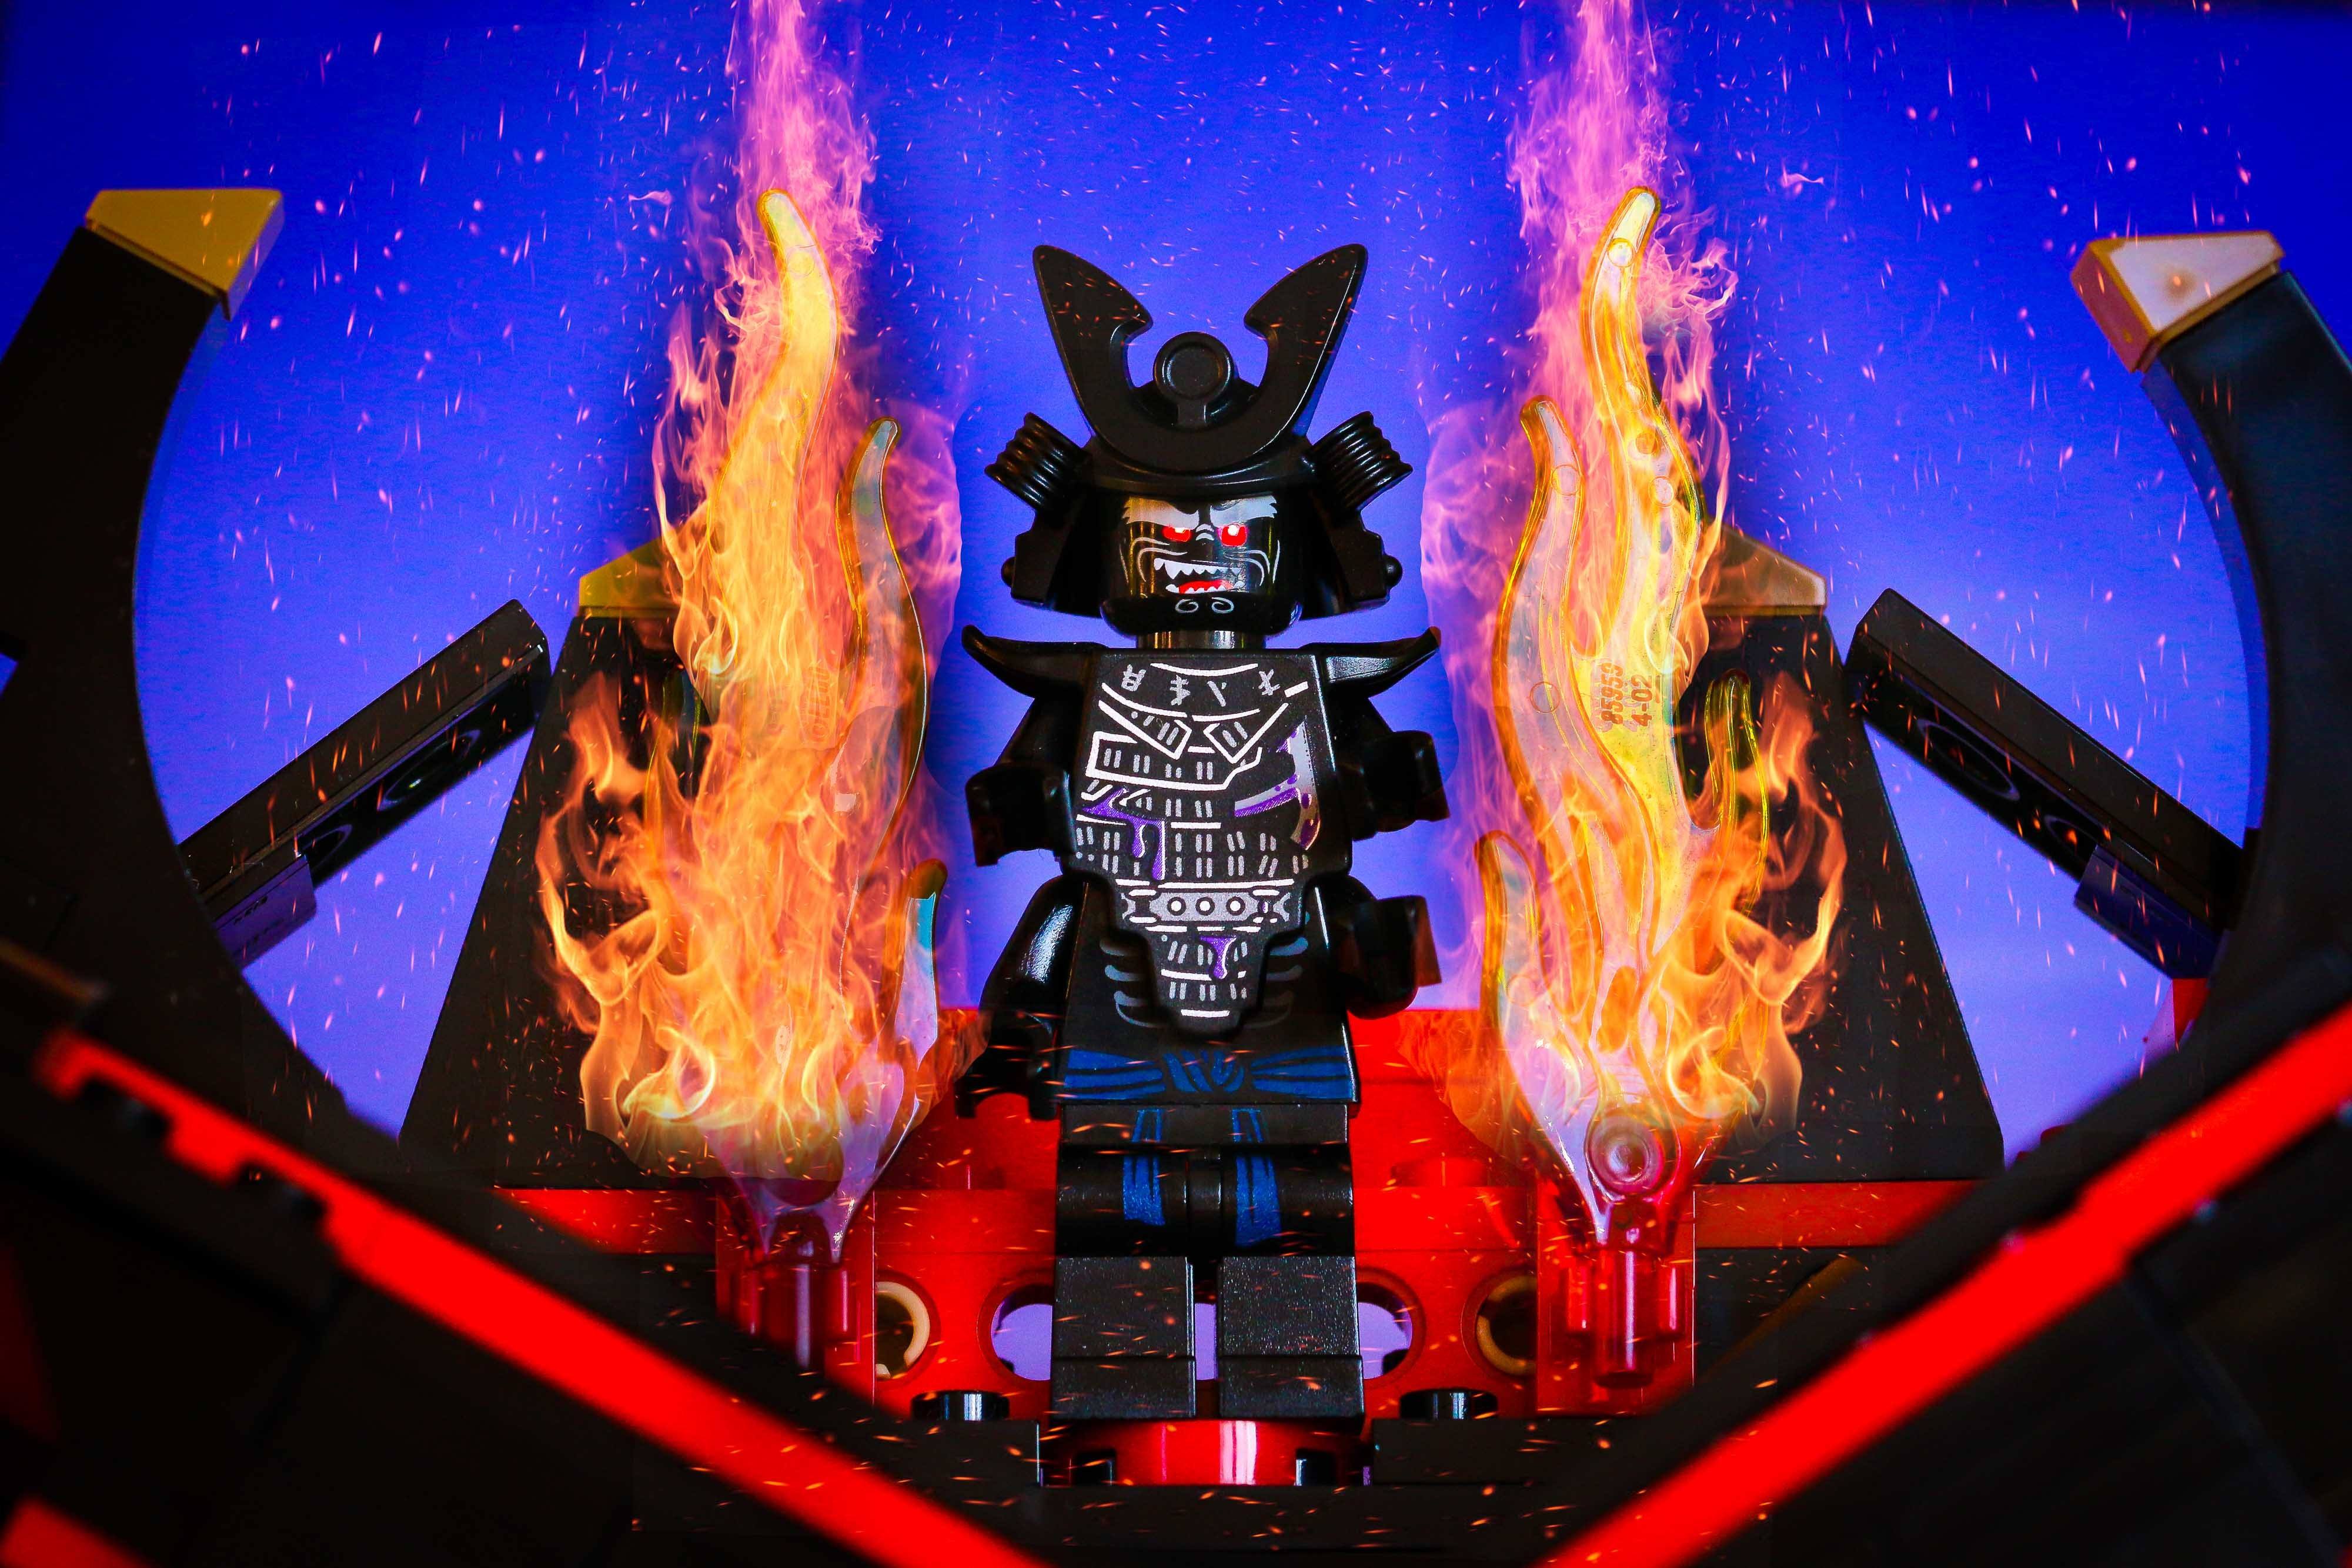
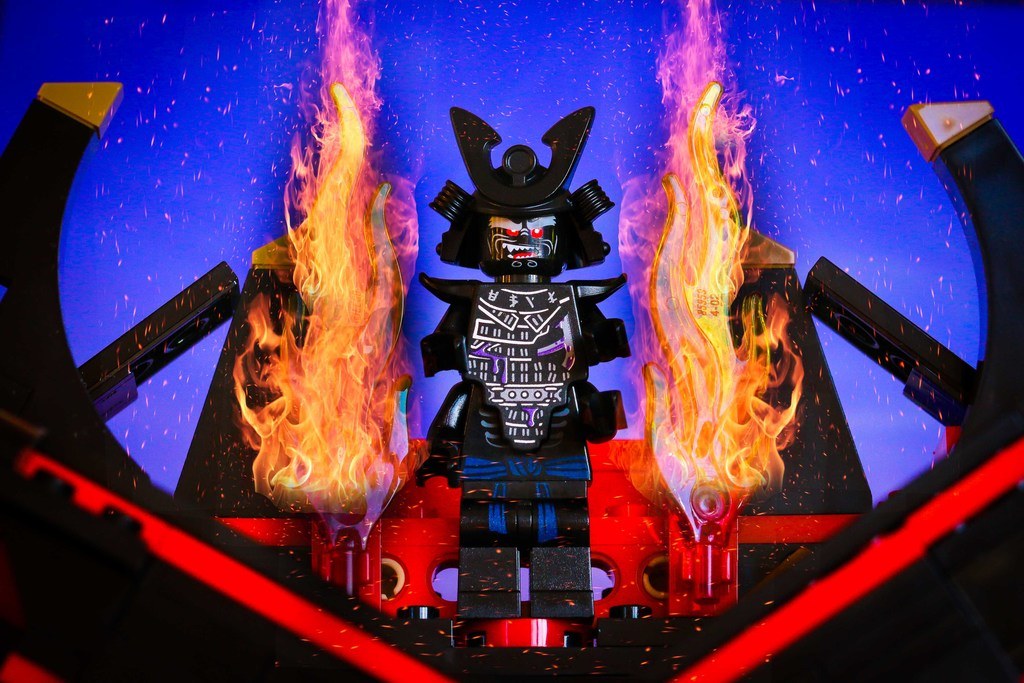
From here is was easy to add the flames. Each time I used the transform tool to adjust the shape and position the flames to create the look I wanted. Some of the layers needed the black brush to paint back some of the original image and smooth out the edges. In all there are 6 layers of flames in the final image.

The next step was to add some sparks. This was exactly the same process as the flames. There was slightly more work involved in positioning the sparks so they went all the way round the flames. And this meant more use of the brush tool to blend everything. In all there are 10 layers of sparks in the final image.

Overall I’m happy with the final shot. I would definitely have stayed in photoshop if I made this again but that is only because I’ve now got a better understanding of how to achieve the effect I wanted. (I’m far more used to using Lightroom.) However, adding the effect and using to brush to blend it was something I learned from doing this photograph.
What would you have done differently?