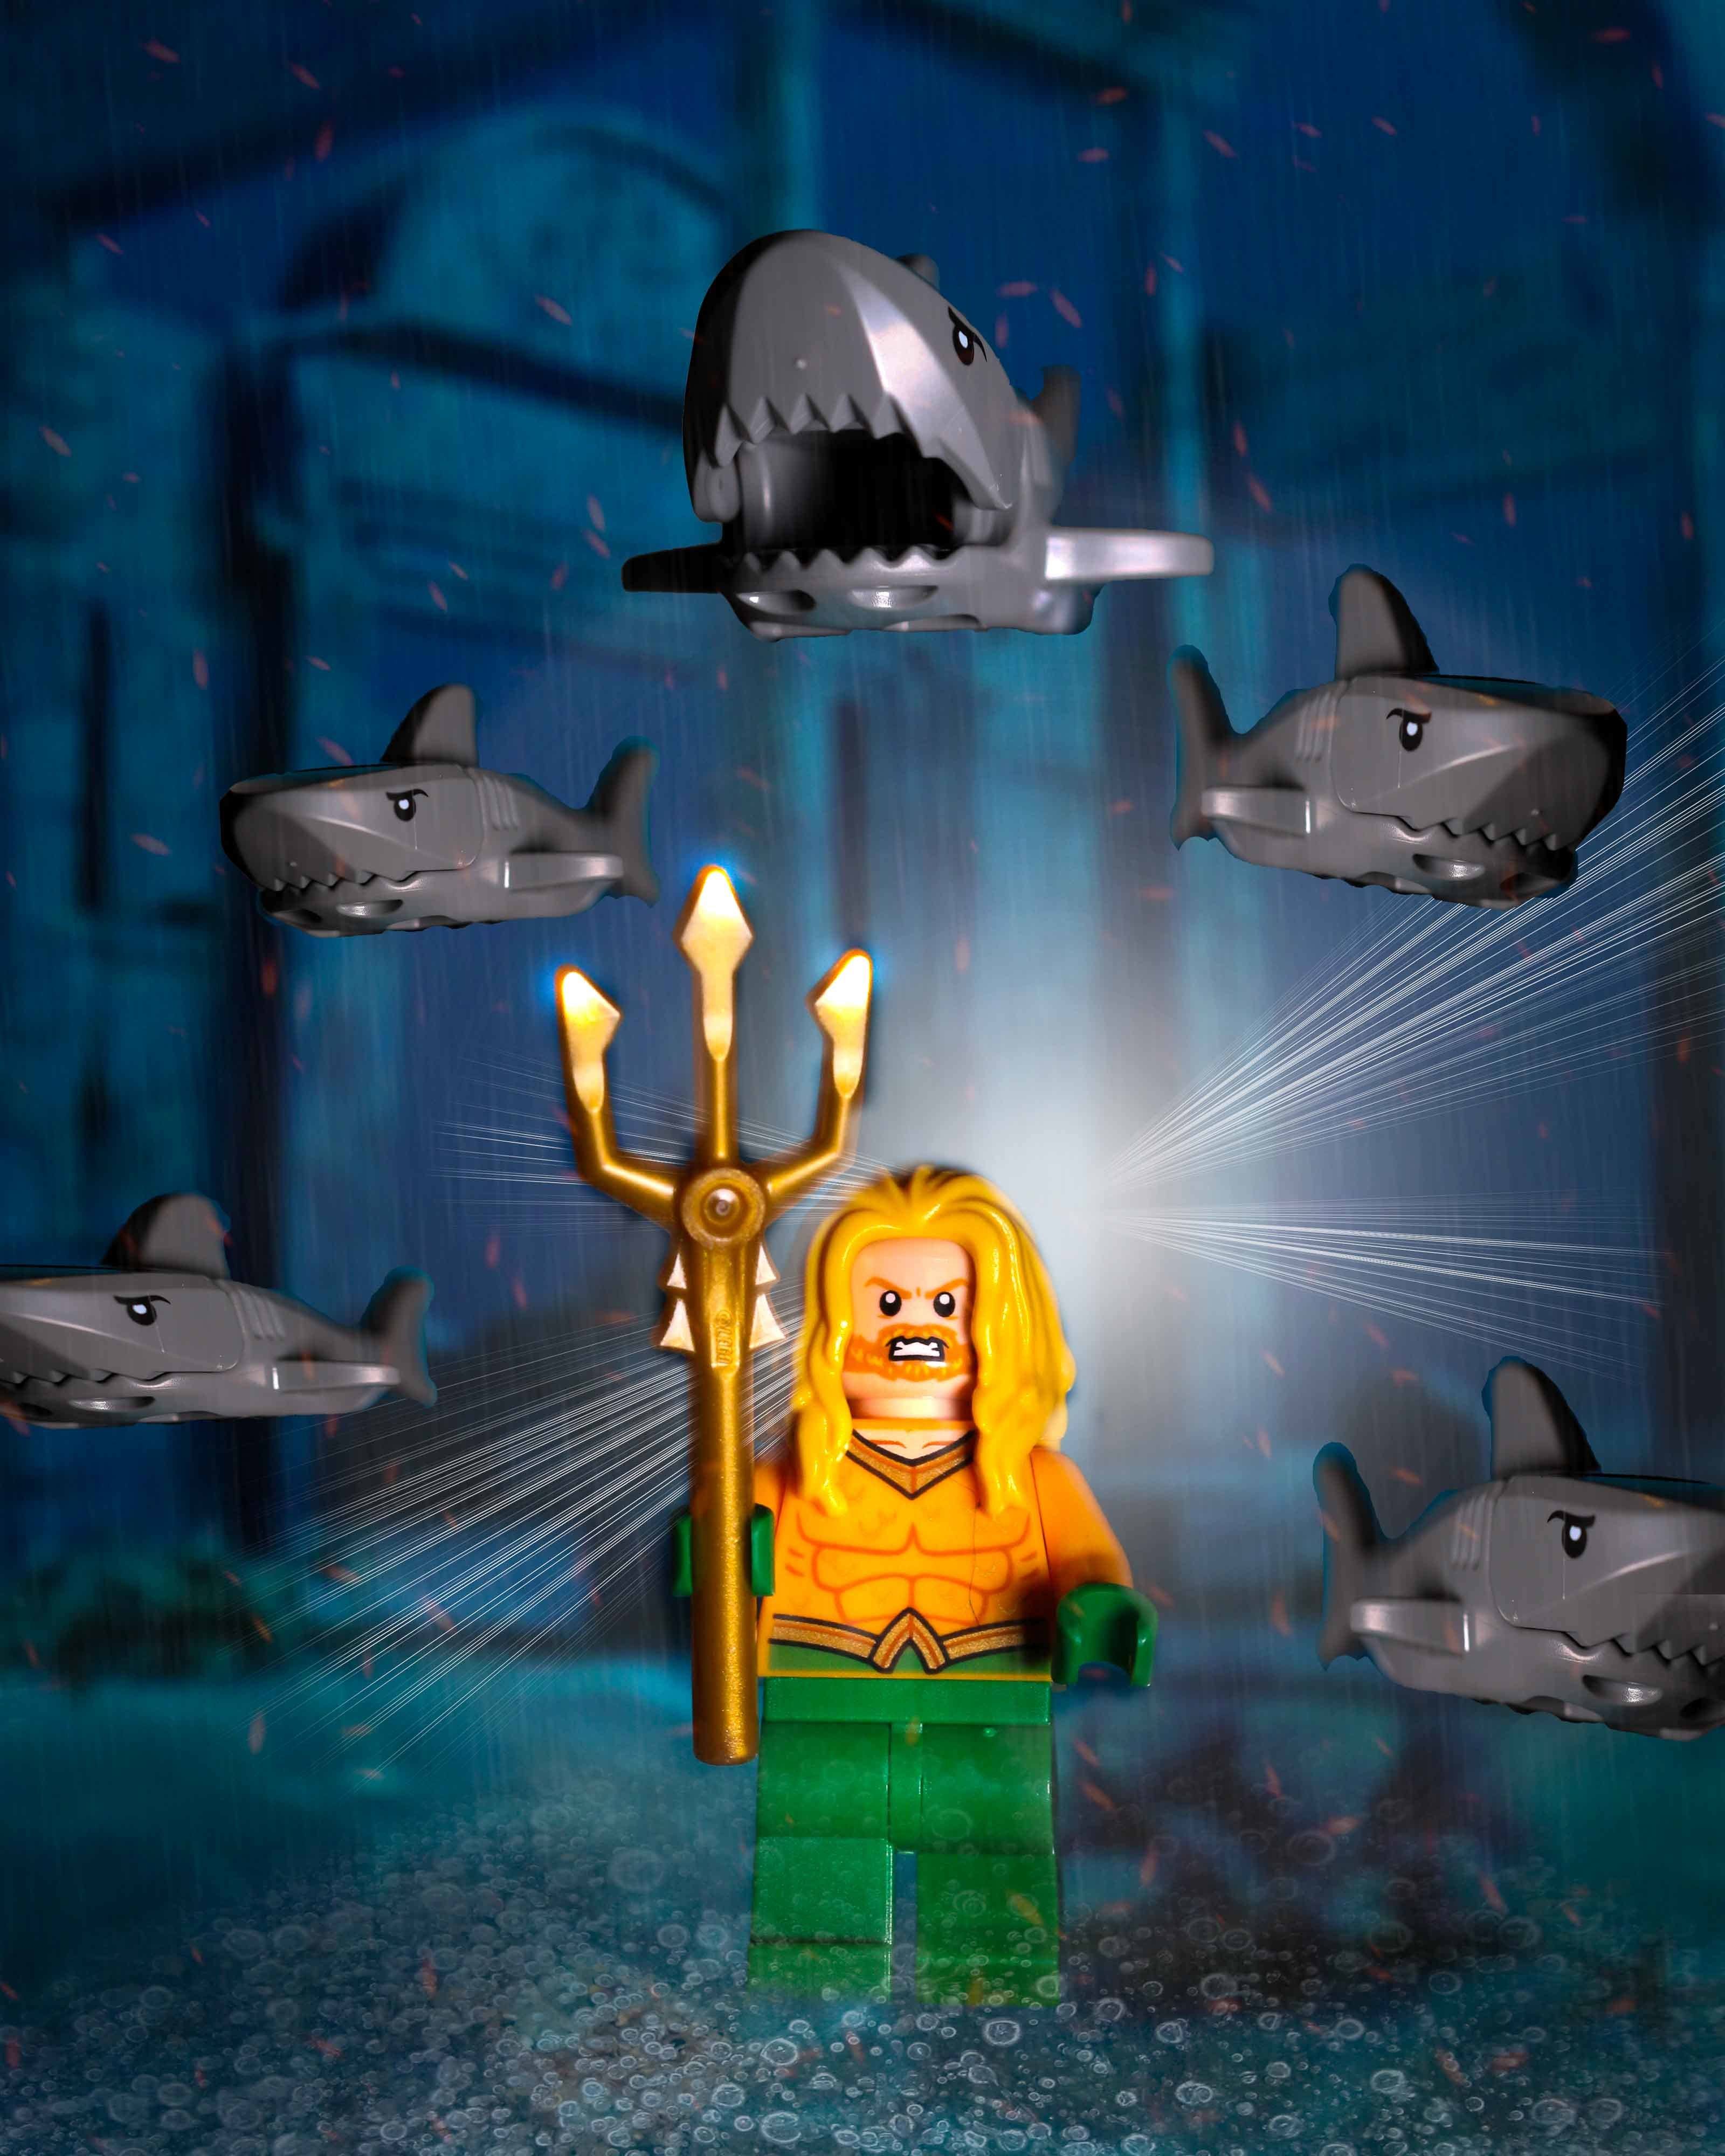
Lego Aquaman Behind The Scenes
Aquaman, member of the Justice League, and my newest character for photography. Hopefully you read my previous post about Ocean Master so you’ll know I got the Batsub Underwater Battle. I used basically the same set up. Aquaman on a stand in front of an iPad to get a shot. I light him with a led light and, after trying a few different angles, settled on this shot to edit.
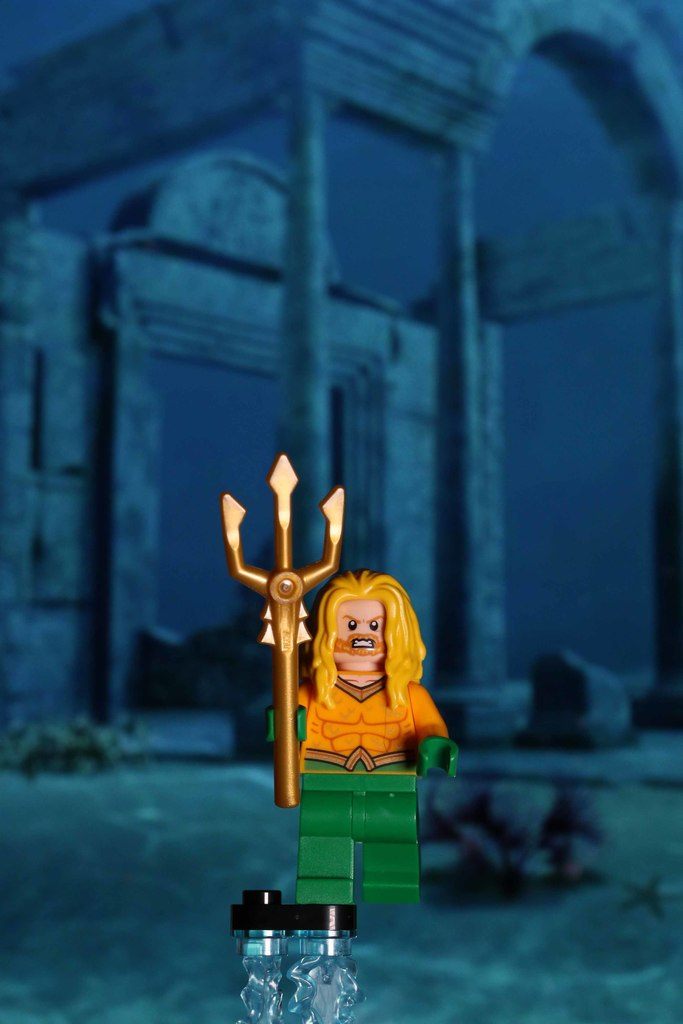
As you’d expect, the first task was to remove the stand using content aware fill and then the clone stamp to tidy up.
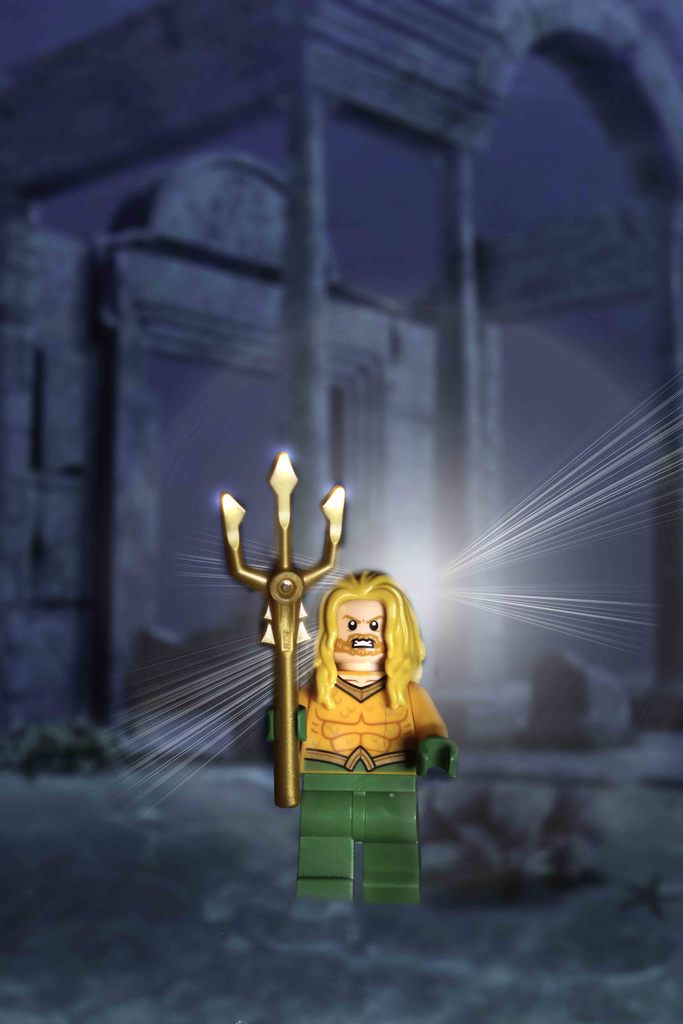
I added a colour dodge layer to add brightness to the trident. On the same layer I very slightly increased the brightness of aqua man’s face and body.
I added a lens flare – using a brush – just behind the main character and then masked out the unwanted areas.
It’s now time to add the sharks. I used the same sharks as for Ocean Master.
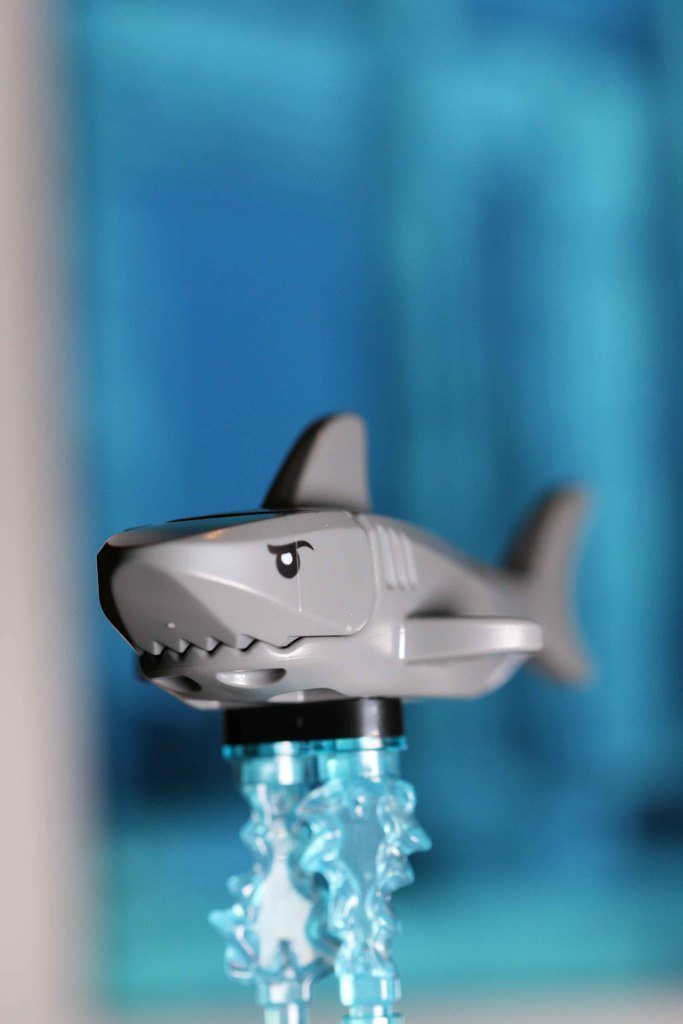
This time I added more sharks and was much happier with how they came out after using the transform tool. I also added a brightness adjustment layer to make the sharks blend in better with the background.
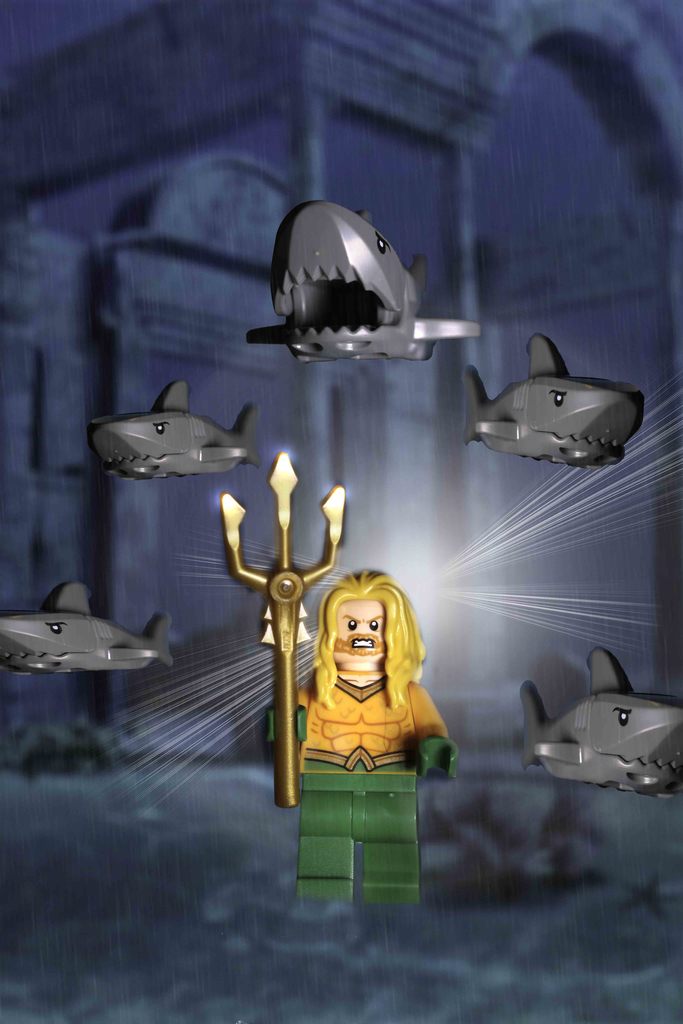
My final steps in photoshop were to add some sparks at a low opacity and some bubbles underneath aqua man’s feet. It was then back into Lightroom. I decided to crop it to 4 by 5 and add a little vignette. And here you have the final image.
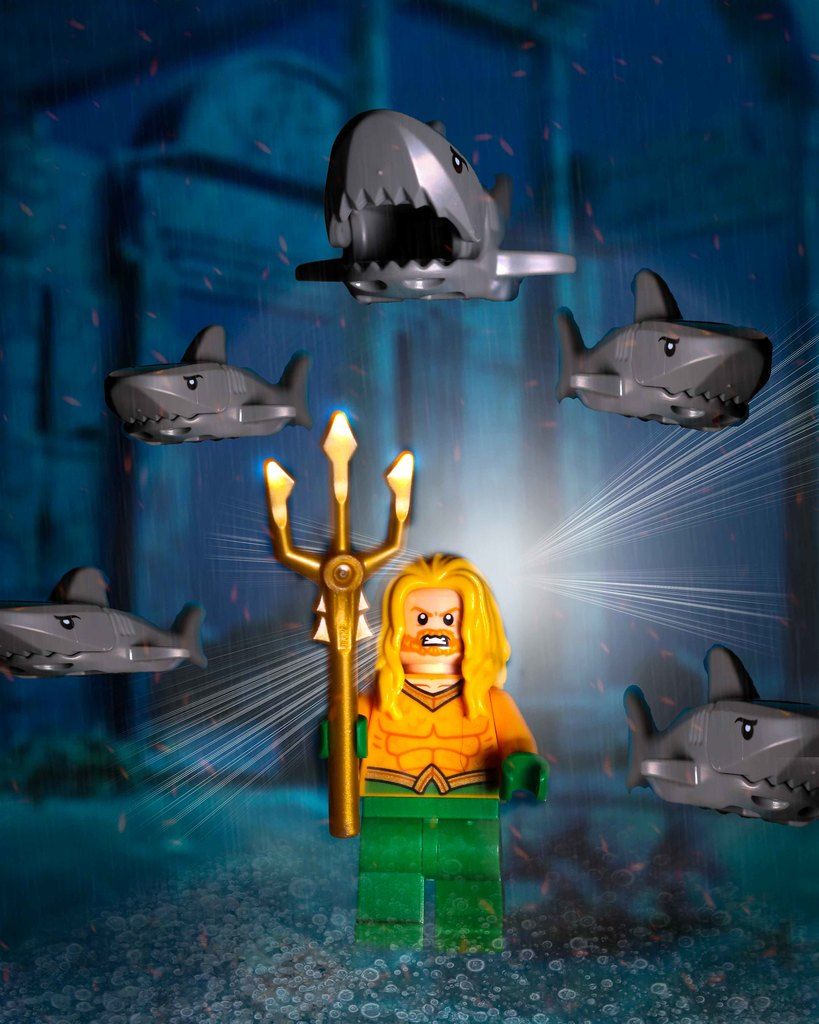
I hope you like the final image. Let me know what you think and if there is anything you would have done differently.