
Lego Ocean Master – Behind The Scenes
I recently got Lego Set 76116 – The Batsub Underwater Clash. To be honest I mainly wanted the Aquaman and Ocean Master mini-figures. And I mainly wanted it to do some photography.
The set itself is quite good and comes with a handed stand for both the underwater characters. Now I realise lego probably didn’t do this to help my photography but it was very useful and helped a lot making it an easy set up. Ocean Master was put on his stand in front of an iPad. I used a light to light my character and took some shots. I finally settled on this one to edit.

The first task was to crop to remove the iPad in the background. I used the content aware removal tool to get ride of the stand.
I create a new layer by selecting the eyes and filled with a red colour. I applied gaussian blur to that layer and used the layer style option to add a purple glow. This really helped the eyes stand out.
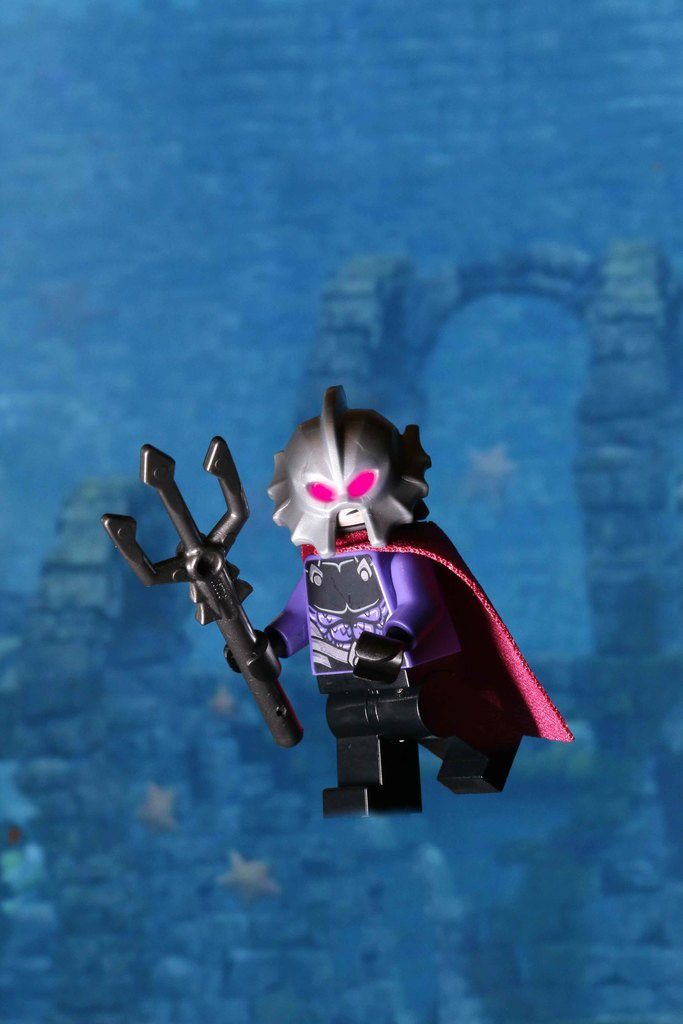
I created a colour dodge layer to add some highlights to the trident. I also very slightly increased the brightness of Ocean Master’s face and body. Just enough to make him stand out.
I used a lens flare brush to create some light between the arches in the background. It needed a layer mask so the flare didn’t appear to be infant of Ocean Master.
I added some bubbles underneath the character and used the black brush to remove it from unwanted areas.
My original idea for this shot involved some sharks in the background. I used this shot for most of the sharks.
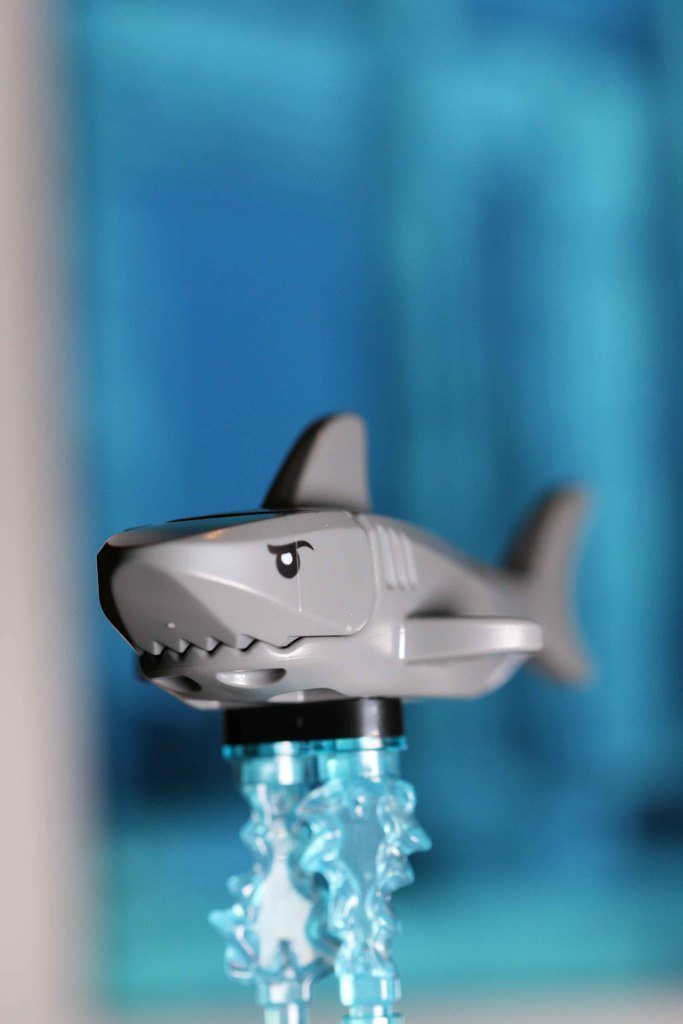
Clearly it needed the selection and a new layer via cut. Then I was able to use the transform tool to place them in the shot and adjust their perspective. I also used another shark with it’s mouth open to be the centre shark in the image. I also added an adjustment layer to reduce the brightness of all the sharks.

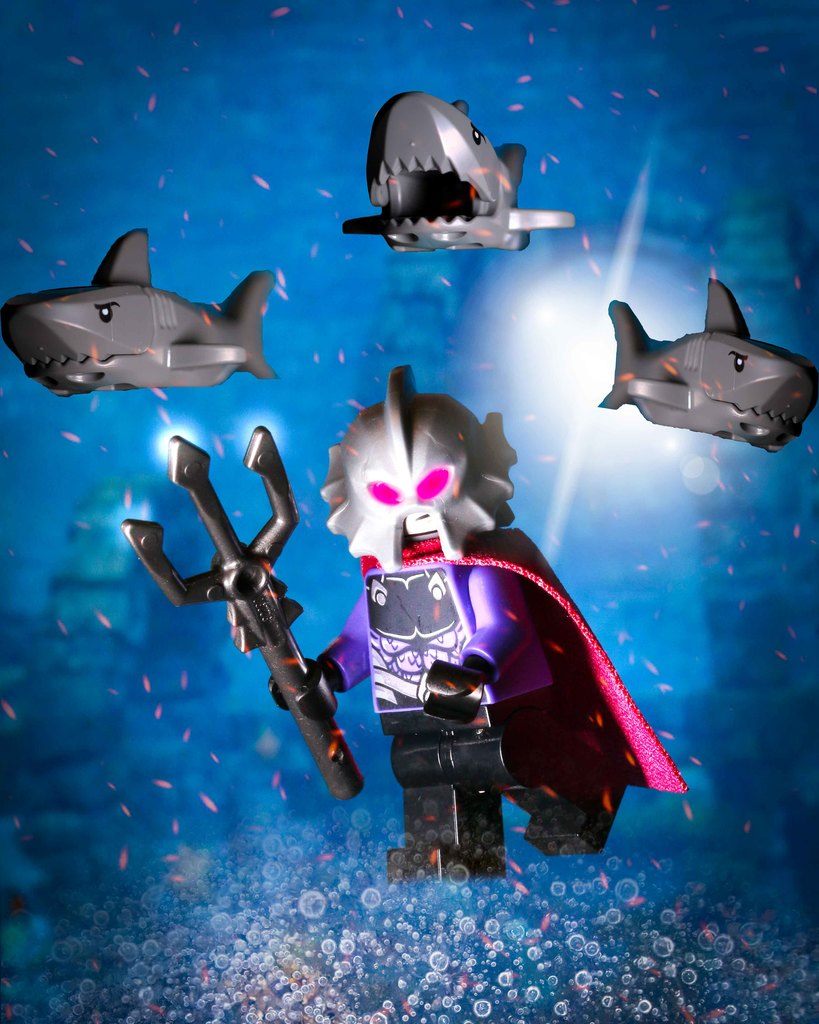
My final step was to add some sparks at a low opacity then crop it to 4 by 5.
Back in Lightroom I added a little vignette and here you have the final image.
I hope you like it. Please let me know in the comments or by contacting me directly. I love hearing from you.