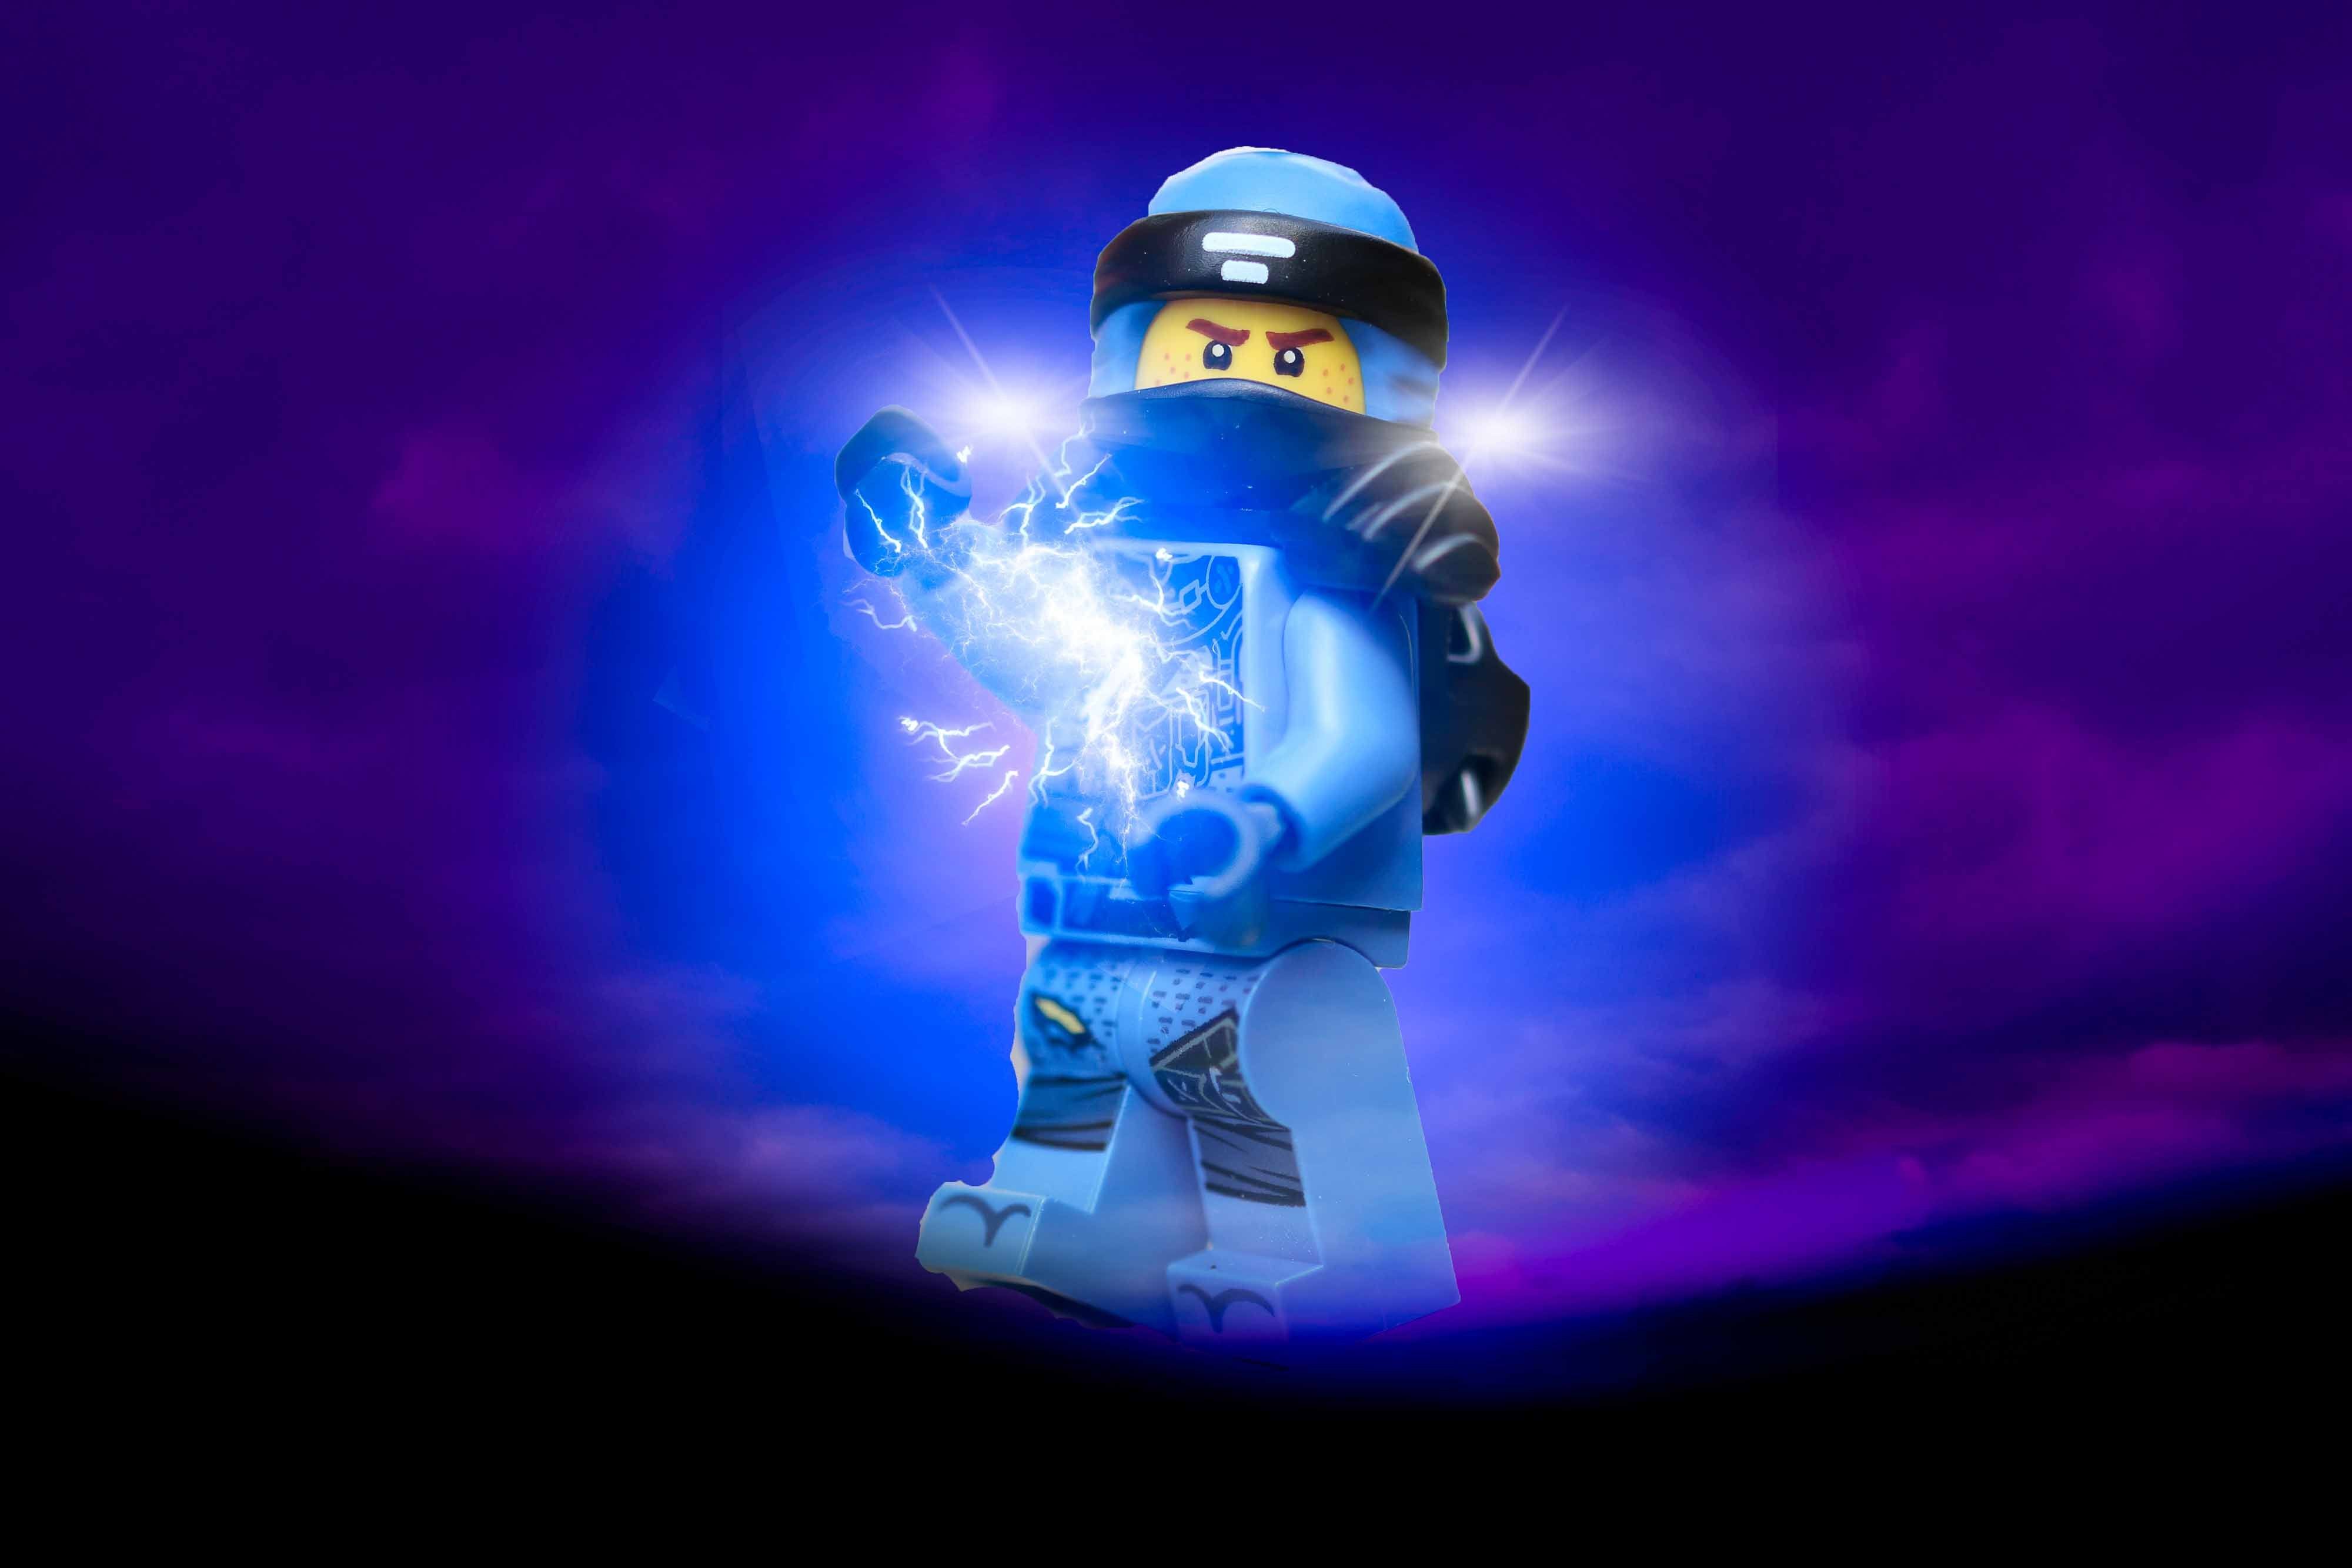
Ninjago Elemental Powers – Behind the Scenes
Legoland is open again and it’s one of our favourite places. A couple of weekends ago Finn and I went and this time we did the Ninjago ride. If you’ve been, you’ll know the ride is pretty popular so the queue took a while. But on the way round there were some great posters of the ninja and their elemental powers. I immediately knew I wanted to create them for myself.
To start with I took the ninja out into the garden to take their portraits. I posed them all looking into the camera with their far arm up and near arm down. Then the fun began…
Jay, Master of Lightning
The image I decided to edit of Jay was this one.
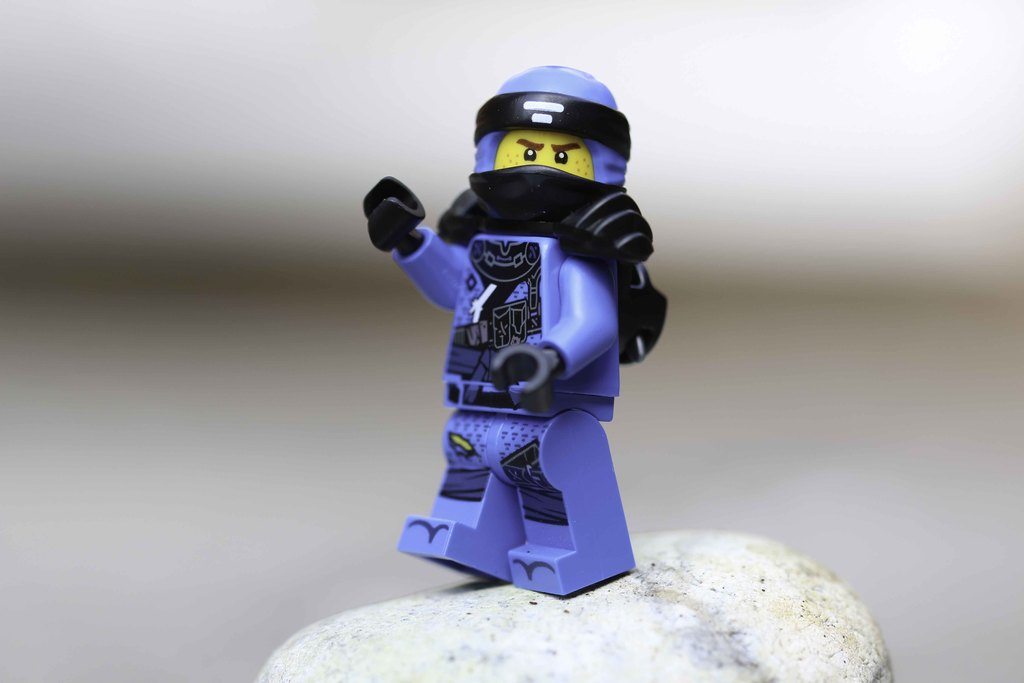
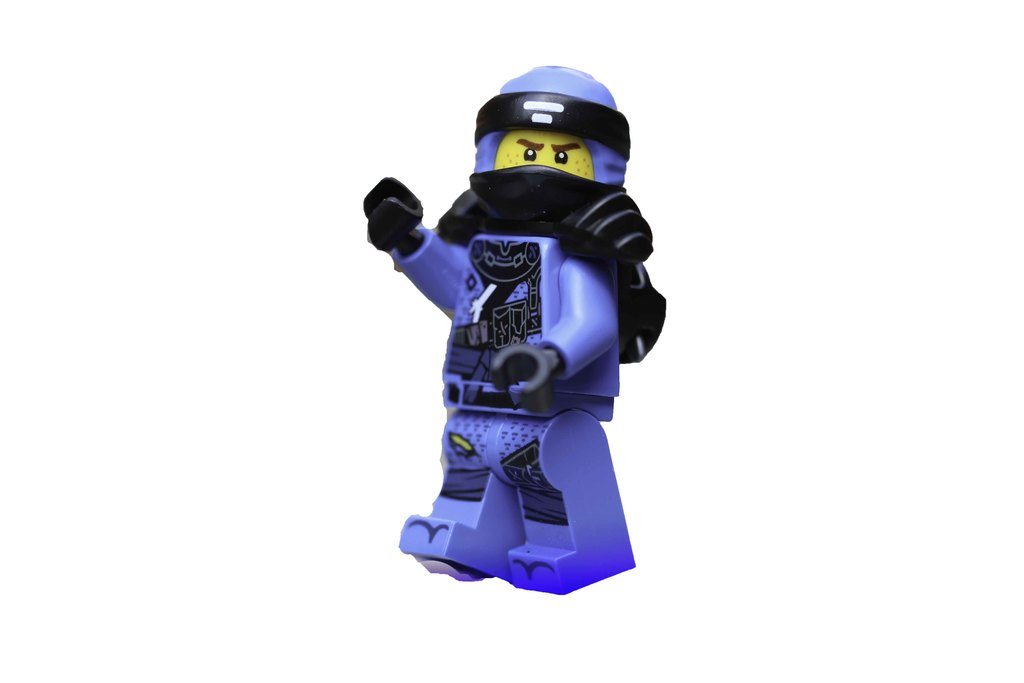
My first step was to cut Jay out from this background. A quick grab of the selection tool in photoshop elements and a copy via layer was all it took.
Next I added in a picture of the sky on a cloudy day. I set the blend mode to soft light.
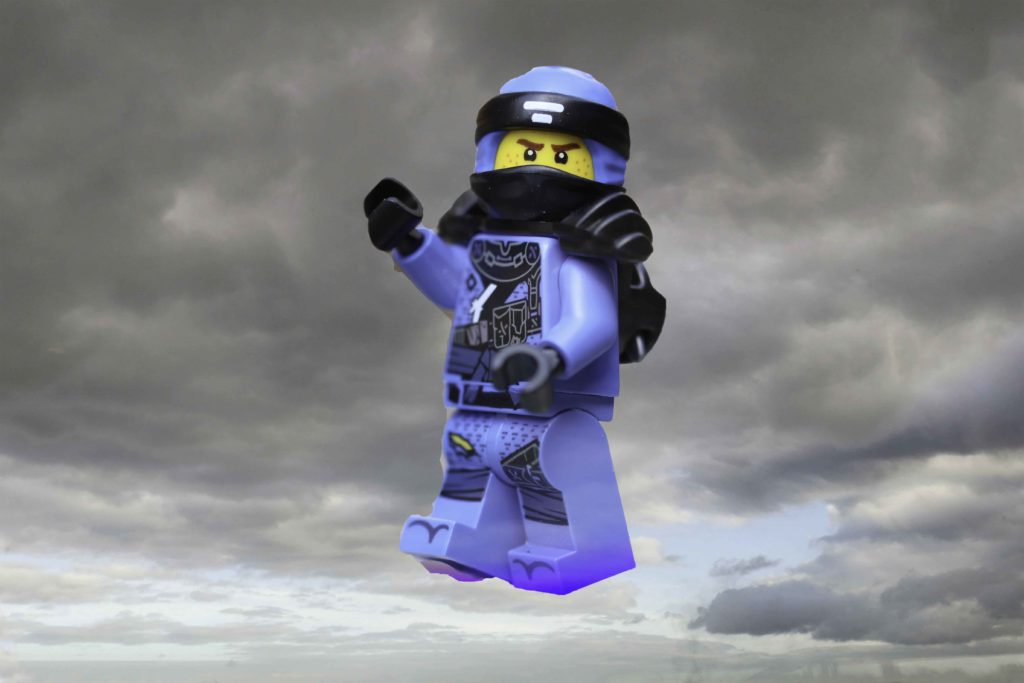
Jay looks a little strange and out of place, but don’t worry I’m not done yet. Next, I added a radial fill layer. I used dark blues and purples to complete the blue of the character.
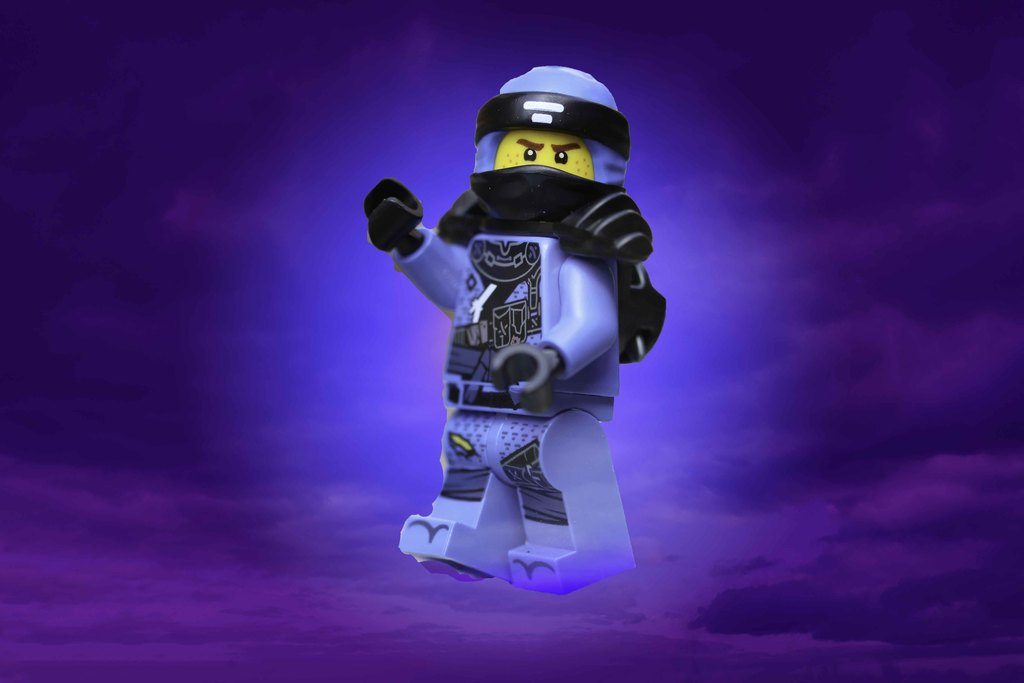
We’re starting to get the effect I’m going for. Using the gradient fill tool set from black to transparent I brushed in the bottom part of the image. This part took a few attempts before I was happy but it eventually was comprised of multiple strokes at different angles to get it like this.
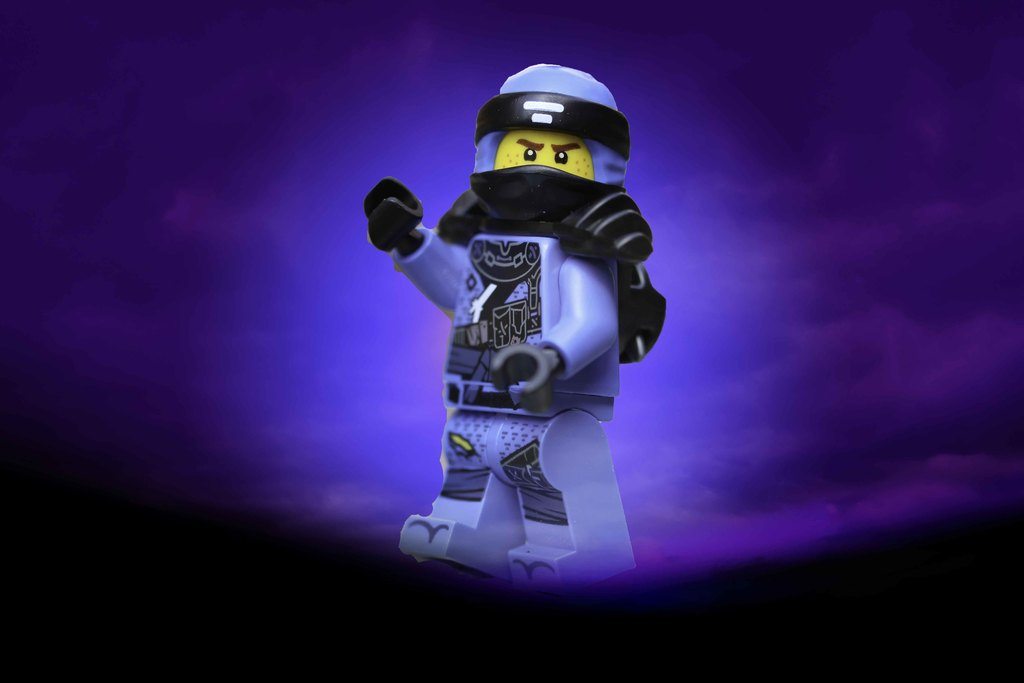
Next, it’s time to add the lightning for his elemental power. There are actually 11 layers of lightning to create this affect. Some copied on top of each other to bringing out the power and make it stand out from the background.
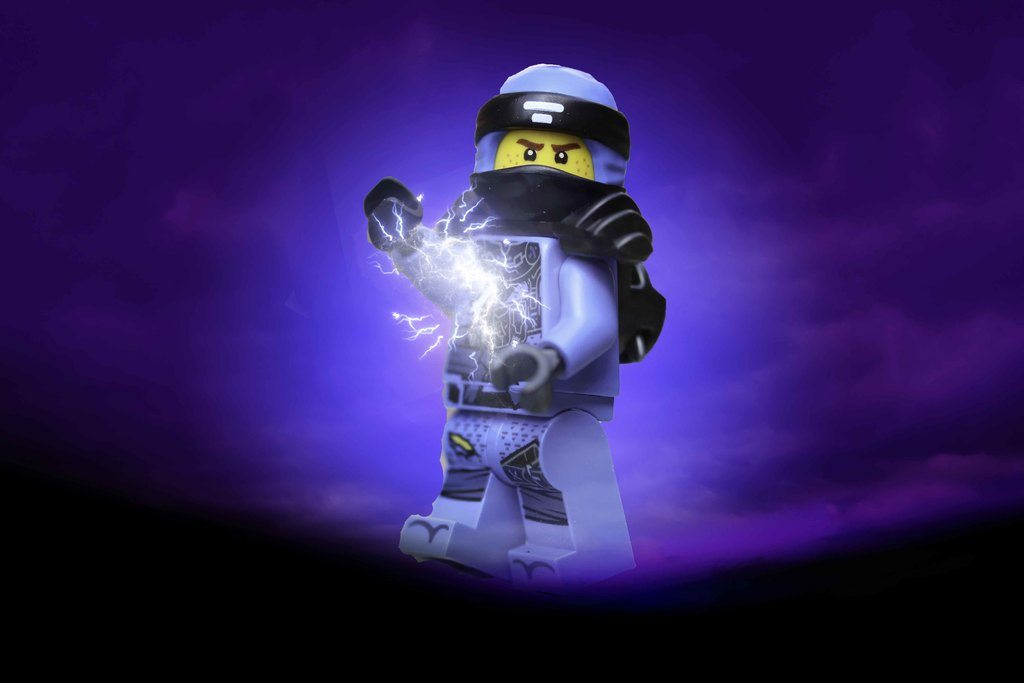
To help the lightning “glow” I used the brush tool on a new layer and painted in some blue. I then set the blend mode to screen.
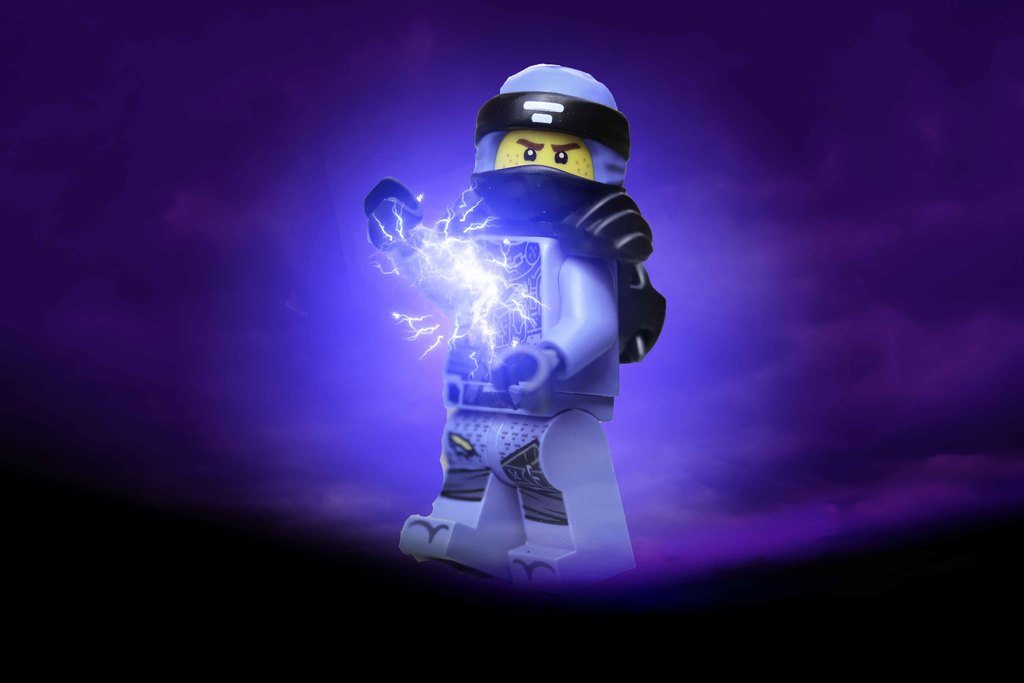
Lastly, I used a lens flare brush to create the flash over each shoulder.
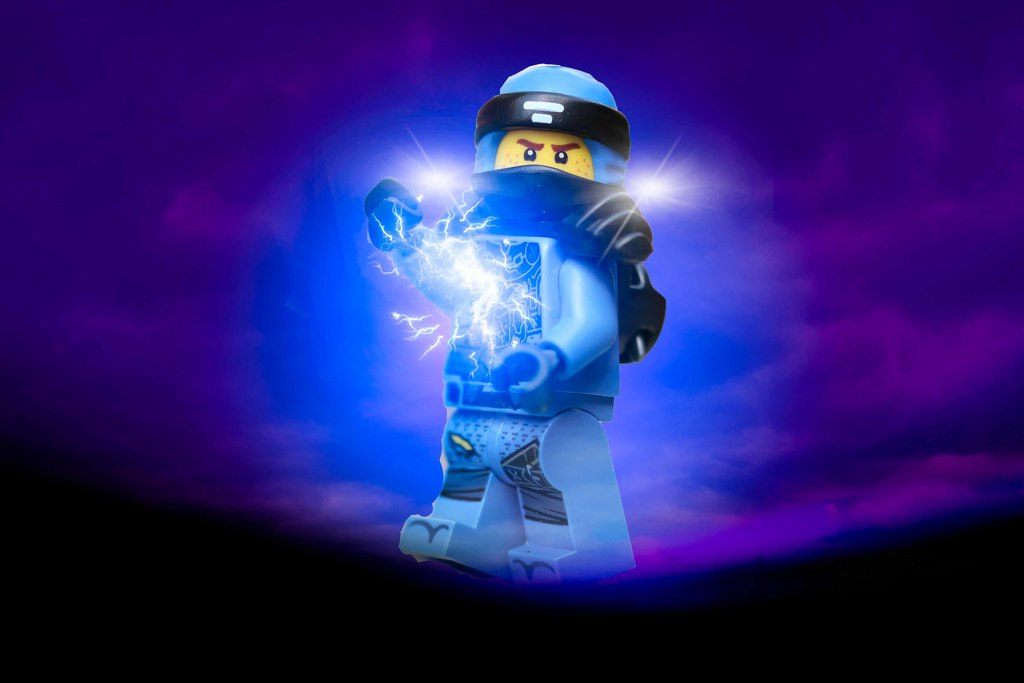
And there you have it. Jay, the Master of Lightning.
Cole – Master of Earth
Similar to the others my starting image of Cole was this one.
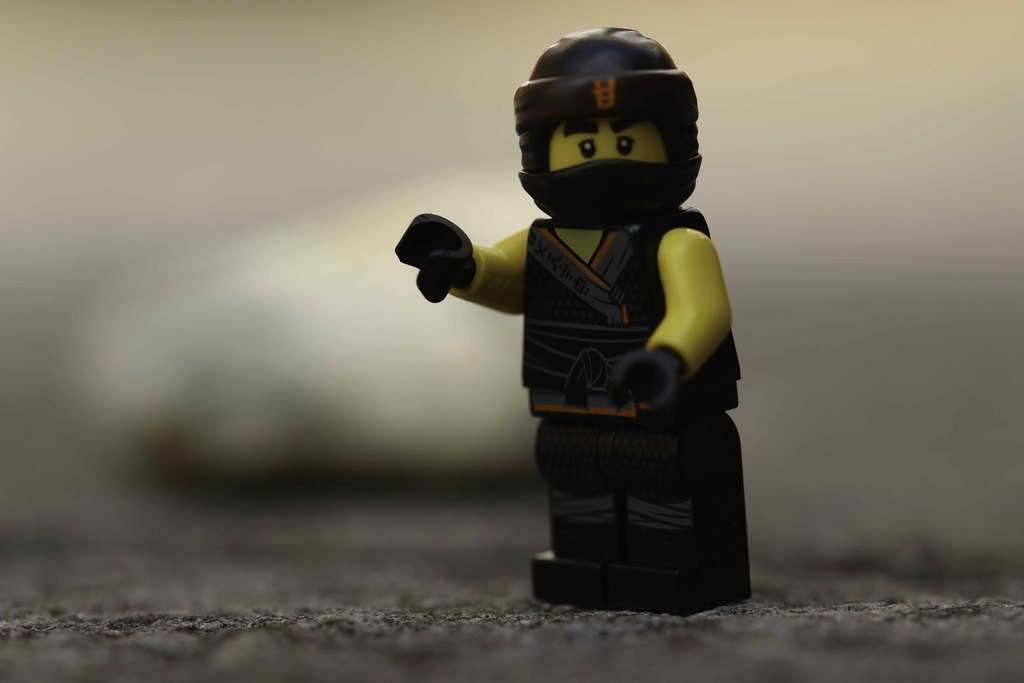
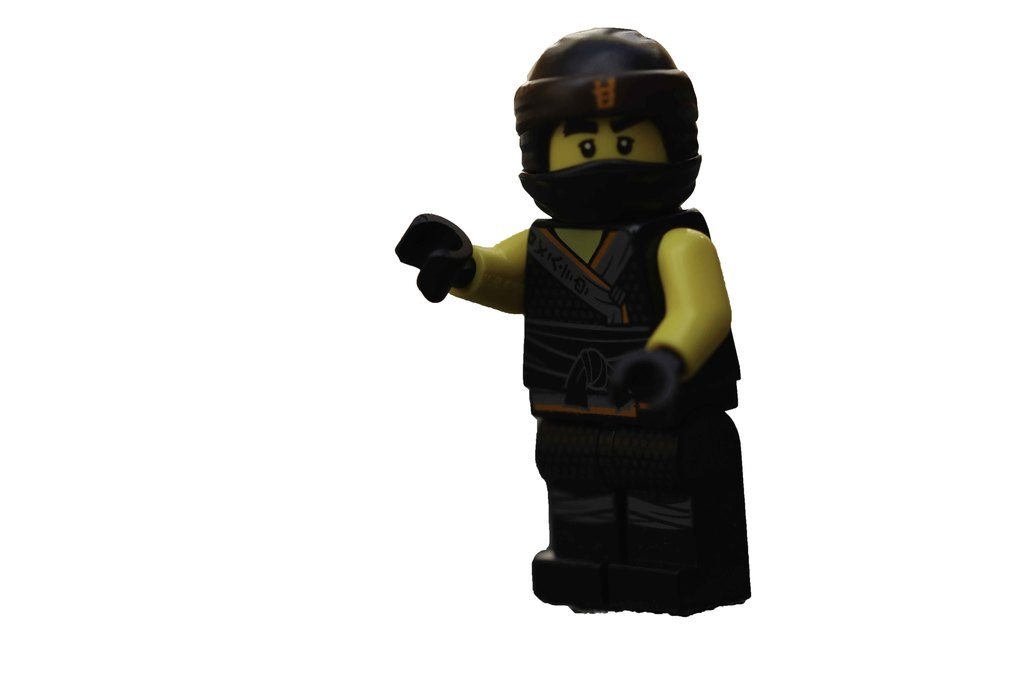
Step one was to cut Cole out from the back ground.
I added a picture of some rocks for the back ground. I also adjusted the brightness of the rocks and Cole so they were more closely matched. You’ll notice I also used the Transform tool to move Cole to the centre of the image.
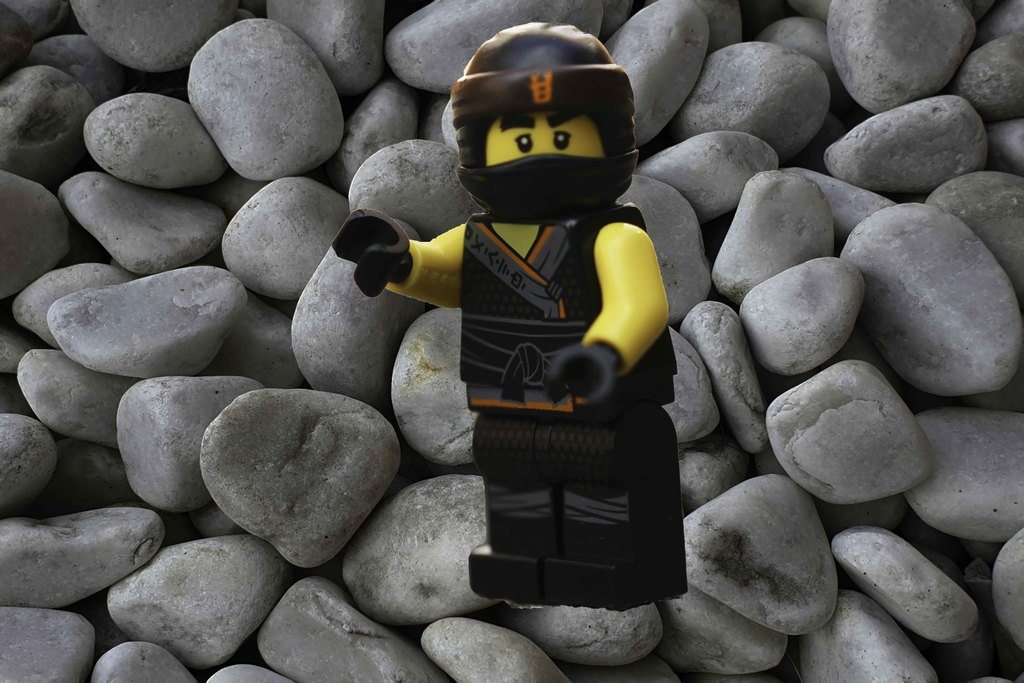
As well as moving Cole I needed to rotate him to get him standing up straight. I didn’t think a ninja master should be seen slouching.
I then added a gradient layer set to radial from dark brown to lighter orange. Next was the gradient tool to darken the area on the bottom so Cole wasn’t just floating.
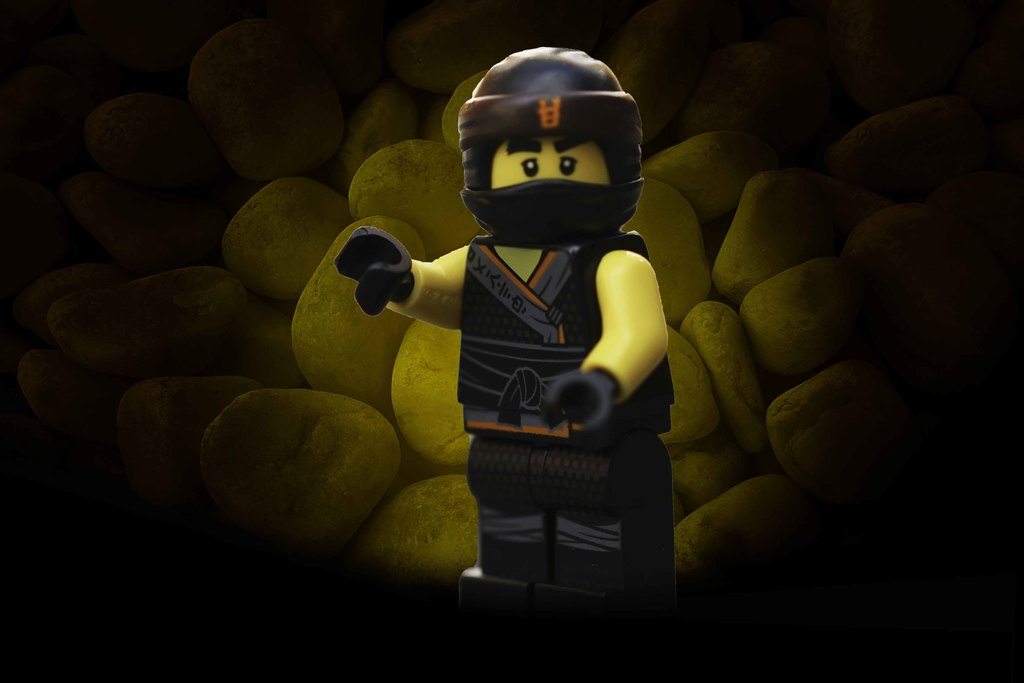
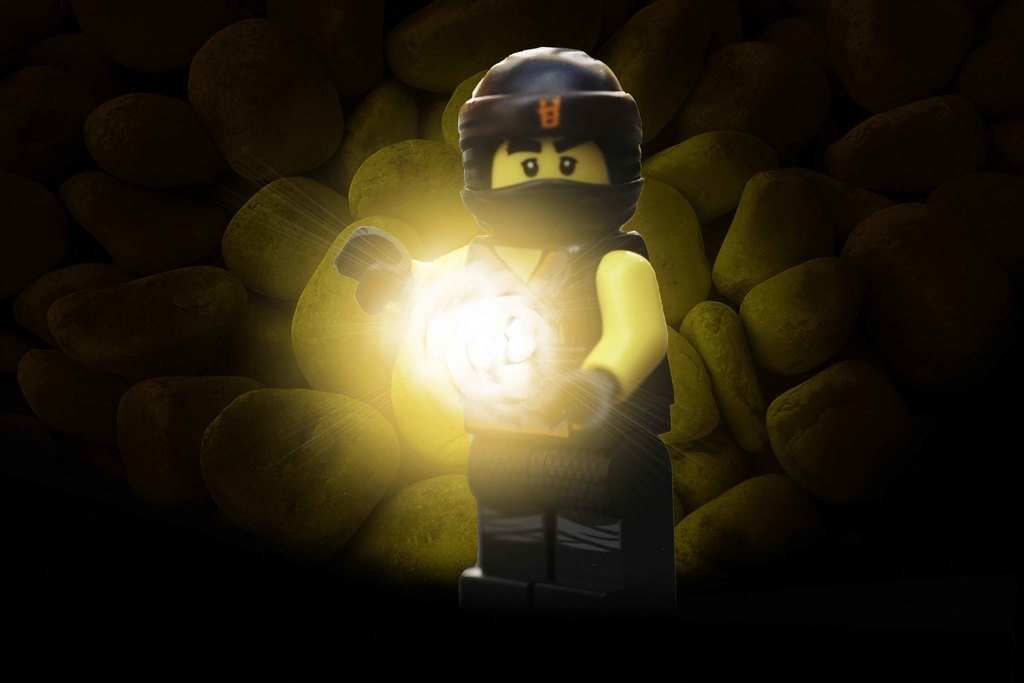
It’s time to add Cole’s elemental powers. To do this I used the same rocks as I’d used for the background. I used the brush tool to remove the outer edges and make it fit between his hands.
It didn’t look quite right so I used a radial blur filter to give it a more magical feel. Lastly, I brushed in some orange set to screen blend mode to give it a glow.
Finally I added a lens flare brush at 30% opacity to the rocks to finish of the elemental powers.
I’ll update this post with the other Ninja’s but in the meantime I’d love to hear what you think. Have you done anything similar?