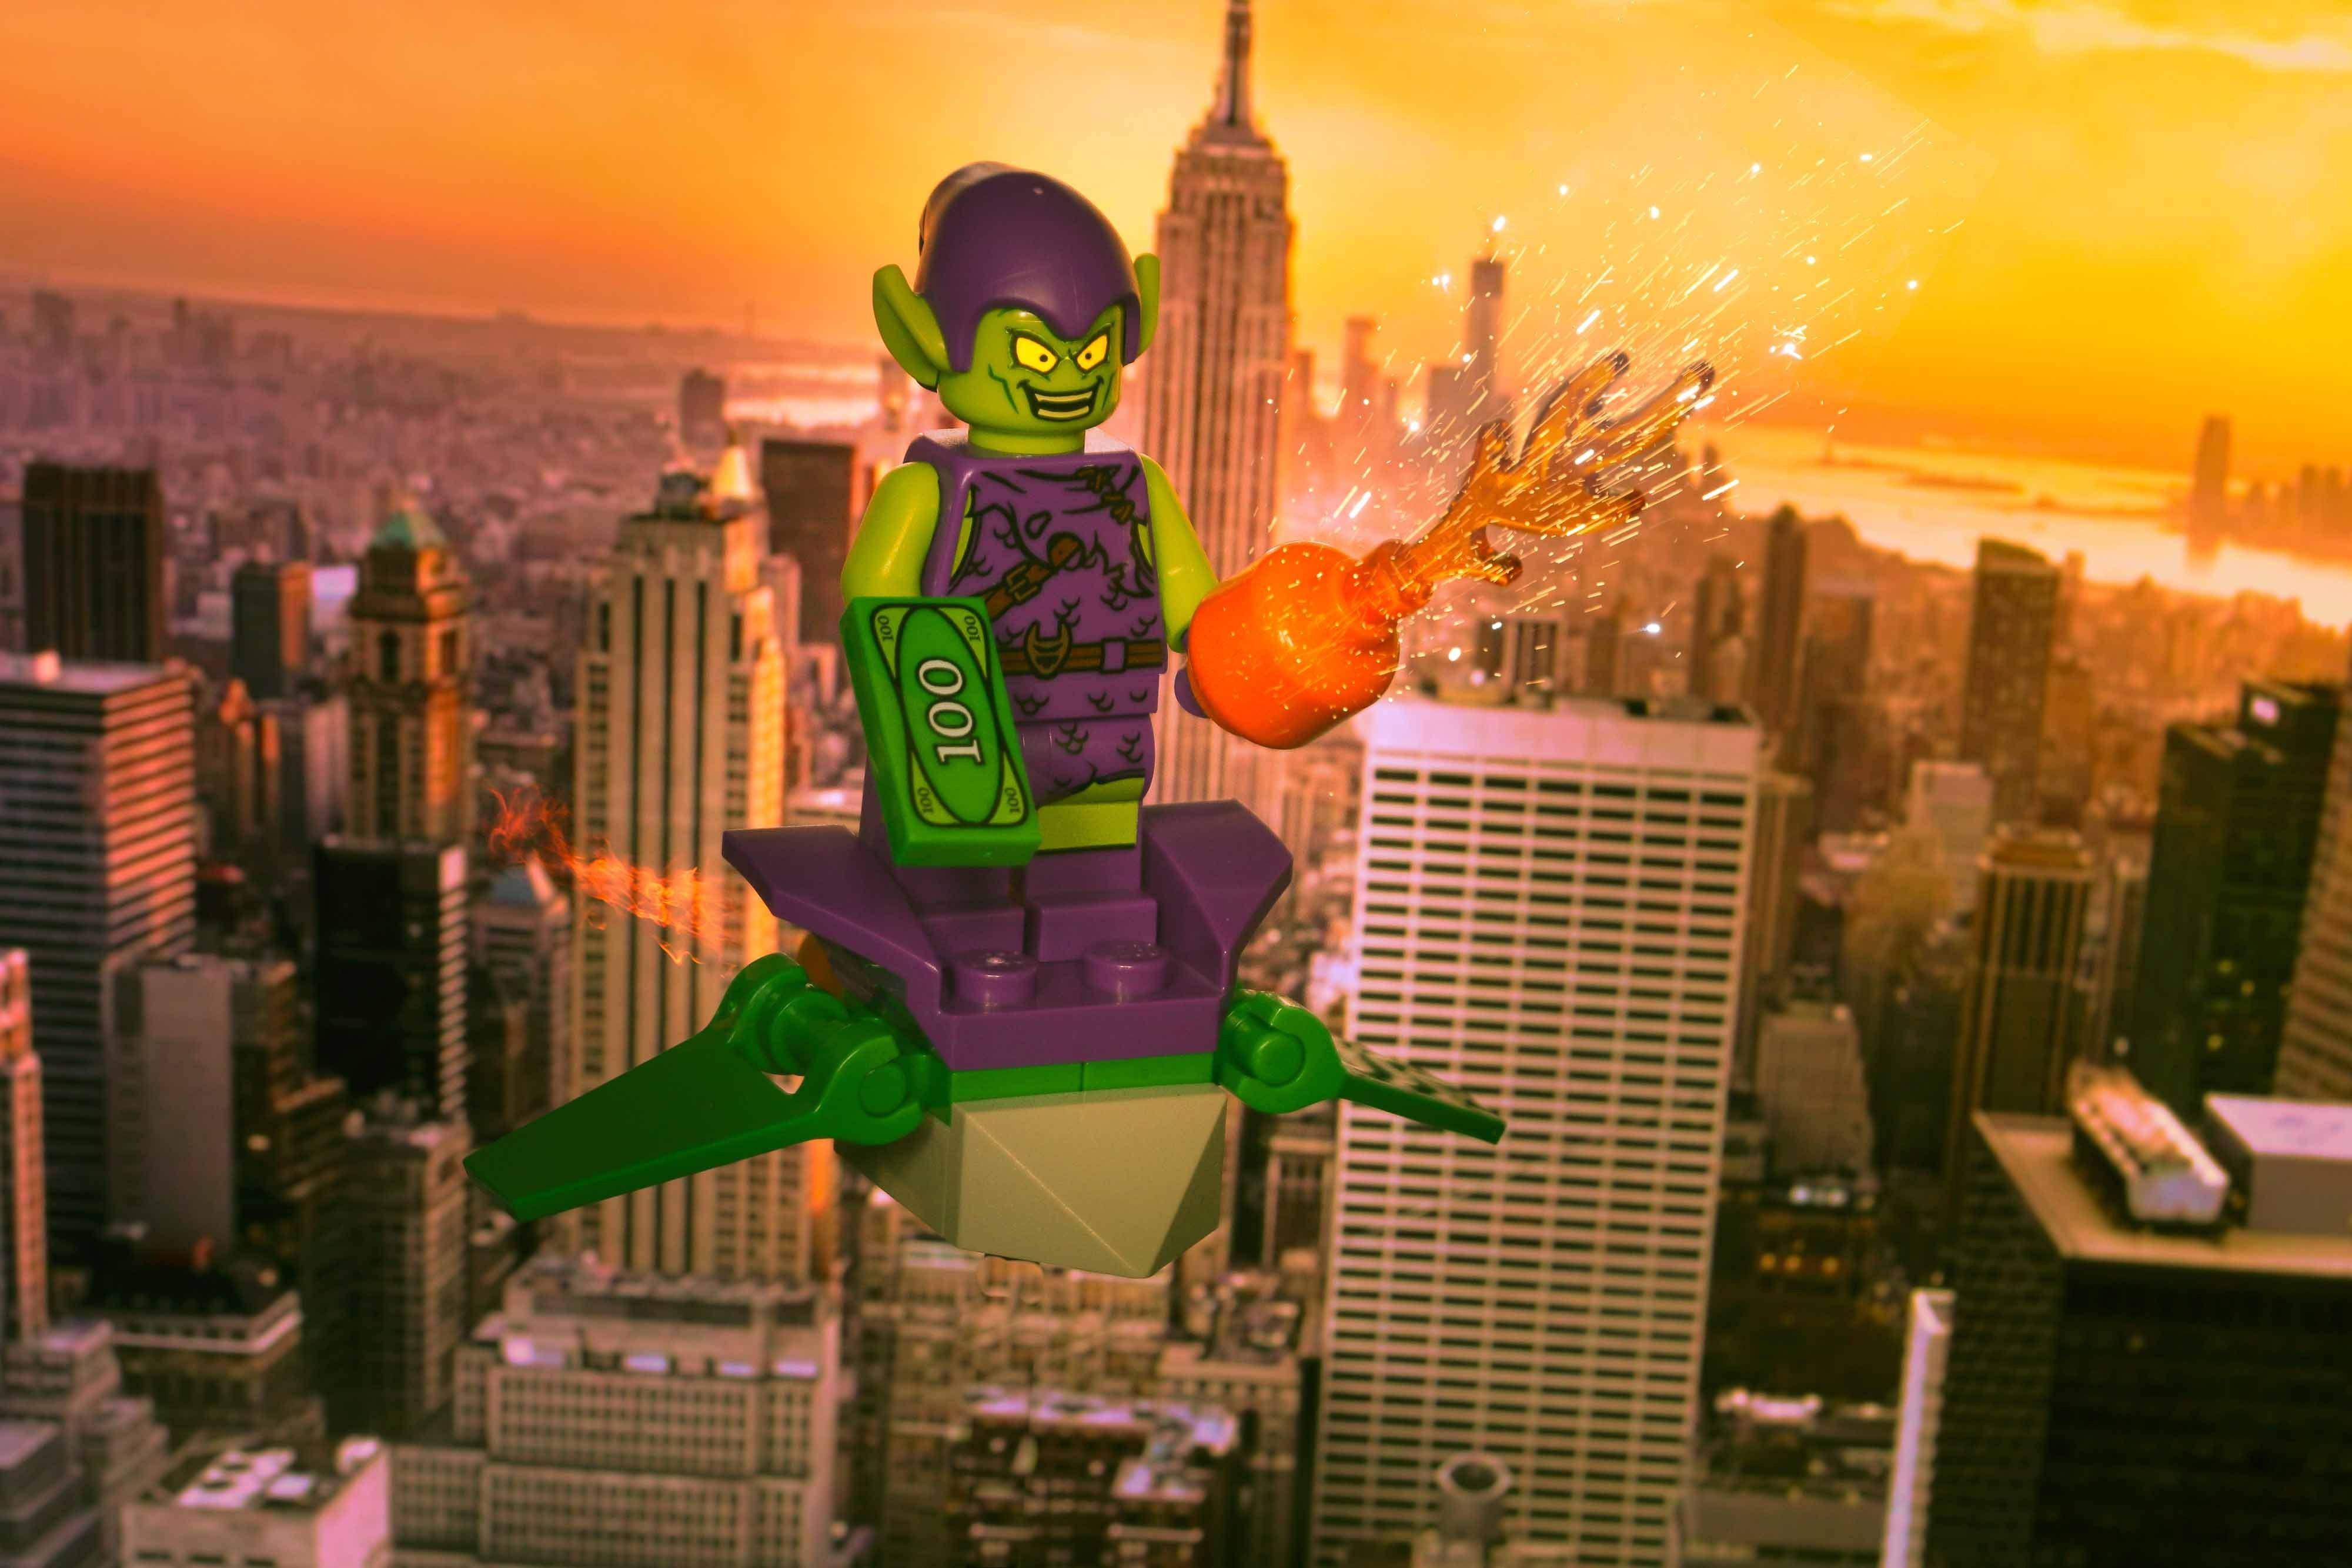
The Green Goblin – Behind The Scenes
As a kid Spiderman was one of, if not, my favourite superhero. With his arch enemy being the Green Goblin it makes sense that he’s one of my favourite baddies. So, when we got the Spiderman Car Chase set I was really happy to get The Green Goblin mini-figure. It therefore makes sense that I would want to set up a photograph of this iconic character.
The Shoot
The set up was fairly straight forward. The green goblin on his glider, propped up on a base piece of lego with an iPad behind him to set the scene with a city sky line. The goblin is holding a pumpkin and has managed to steal some money.
Here is the shot, straight out of camera.
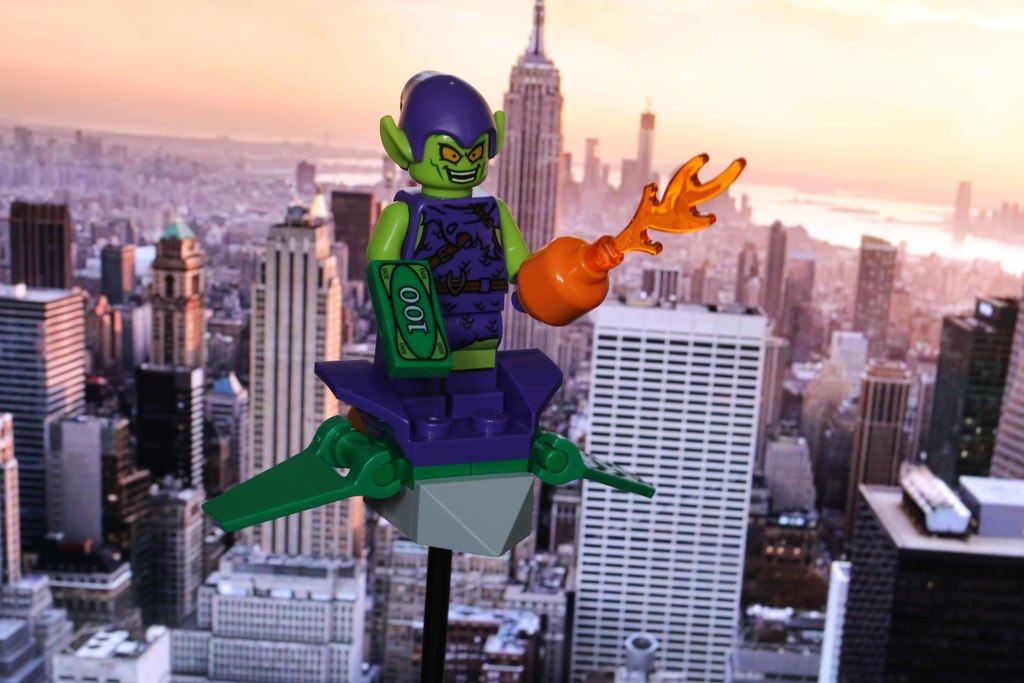
As you can, the colours aren’t great. Very dull and there is a black support pole visible underneath the glider.
Lightroom
As usual, I started my edits in Lightroom. My first task was to use the spot removal tool to remove the support. I then dropped the exposure so I could start with a darker sky – this made it more vibrant and less washed out. I used a radial filter to bring the exposure back up on the Goblin. Again, only a start but it started to make him stand out. I adjusted the highlights and shadows then added a little saturation and vibrance to the image. Stage two looks like this.
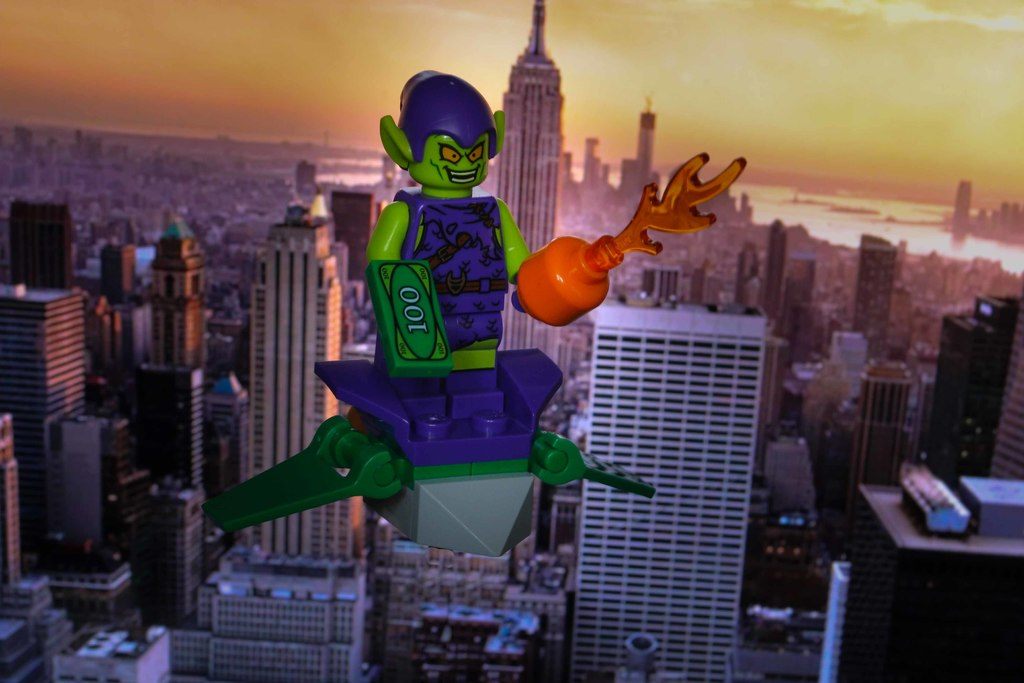
It’s now time to move over to Photoshop Elements. I’ve just treated myself to an upgrade to Elements 2019 so I was excited to see what I could do.
Photoshop
My first port of call was to add a gradient layer to give more of a dusk feeling to the image. In conjunction with this I added a levels adjustment layer
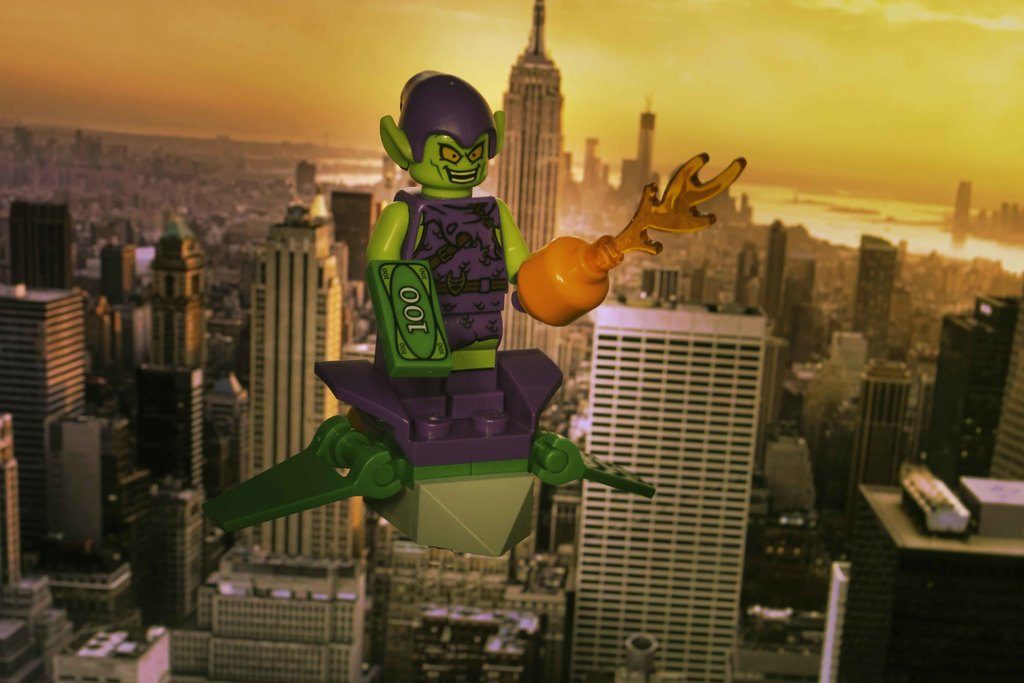
Next I wanted to add sparks the pumpkin so I used the place function to add them and adjusted their size and angle to fit. It needed the black brush tool to clean up some sparks but I was pretty happy with the end result.
I added more flames to the back of the glider – as I’d remembered it from my childhood. This part need a lot more adjustment before I was happy – including the black brush to make it look like it was coming from behind the glider.
My final step was to make the eyes stand out. I added a brightness layer to the eyes but also felt it needed an additional levels adjustment before they really popped. I then added a levels layer to the pupils to darken them and add more contrast to the now brighter yellow eyes.
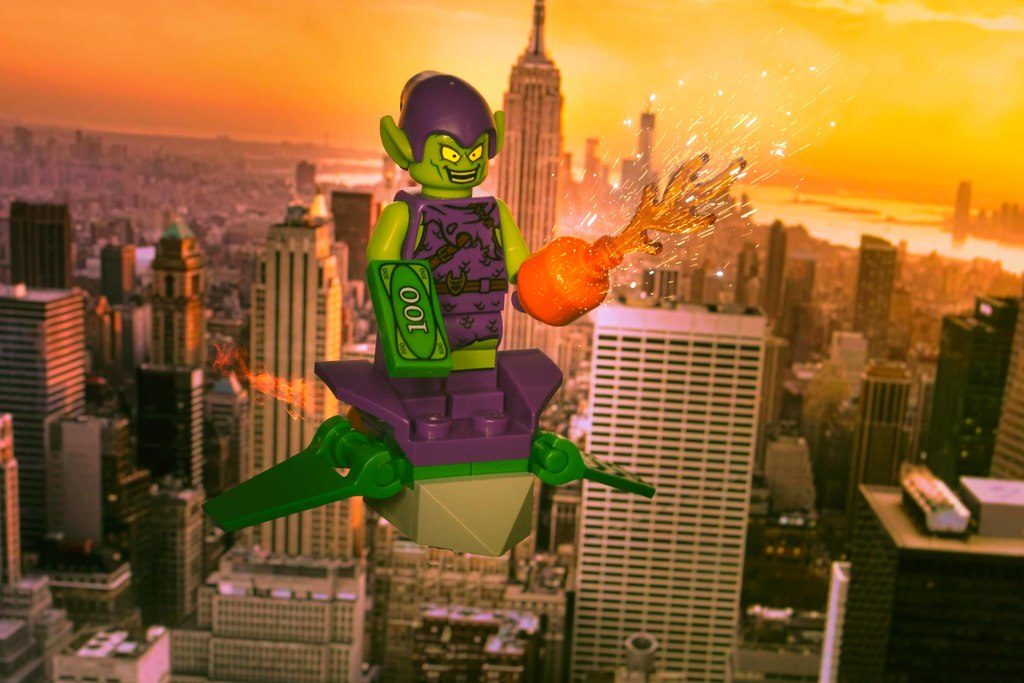
Overall I’m pretty happy with how this turned out. I imagine there are a lot of things I could have done and perhaps in a year I’ll look back in shame but right now it brings back happy childhood memories and has enhanced what was otherwise a fairly dull lifeless shot.
What would you have done differently? I’d love to hear from you.