Thor Behind The Scenes
One of the things I like about lego is photographing it. It’s fun to play with and it’s fun to photograph. I love photography and I particularly like how lego doesn’t complain when I want to try out new things. I can try things as many times as I like, and I’ve found it to be very helpful as I strive to improve my photography skills.
Up to this point all of my work has been edited in Lightroom. I realise that Lightroom is a huge programme and I’ve got a lot to learn but I’m getting fairly comfortable with the interface and can figure out most things I want to do.
However, on a recent instagram post there was a comment that my shots were well composed and clean and that if I did a little editing I could produce some great work. So I have decided to take up the challenge and share my progress with you. One, I hope this will help other people learn along with me, and two, writing notes will help me to develop quicker. Being able to explain what you’ve learned is essential to solidifying a skill and learning photoshop will be no different to anything else I’ve done in the past.
There are many ways to learn new skills. My preferred way is to find an expert and spend time learning from them. However, I don’t know any experts in photoshop so I turned to the next best thing I could find – youtube.
I found a channel recommended by a friend on instagram. I chose a technique for creating The Flash lightning:
Then – because I don’t have the flash – I got Thor out for a photoshoot.
Here is the first image with the Lightroom adjustments.
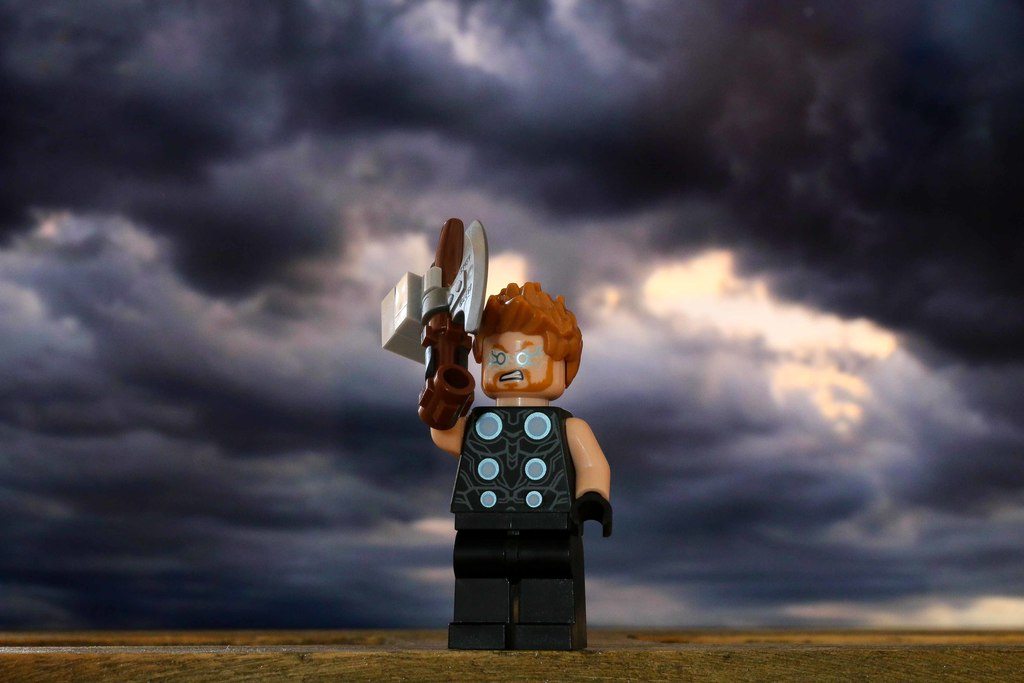
The background was an image on an iPad and Thor came from the Thor’s Weapon Quest set. He’s one of Finn’s and my favourite characters so he was an obvious first choice to start editing.
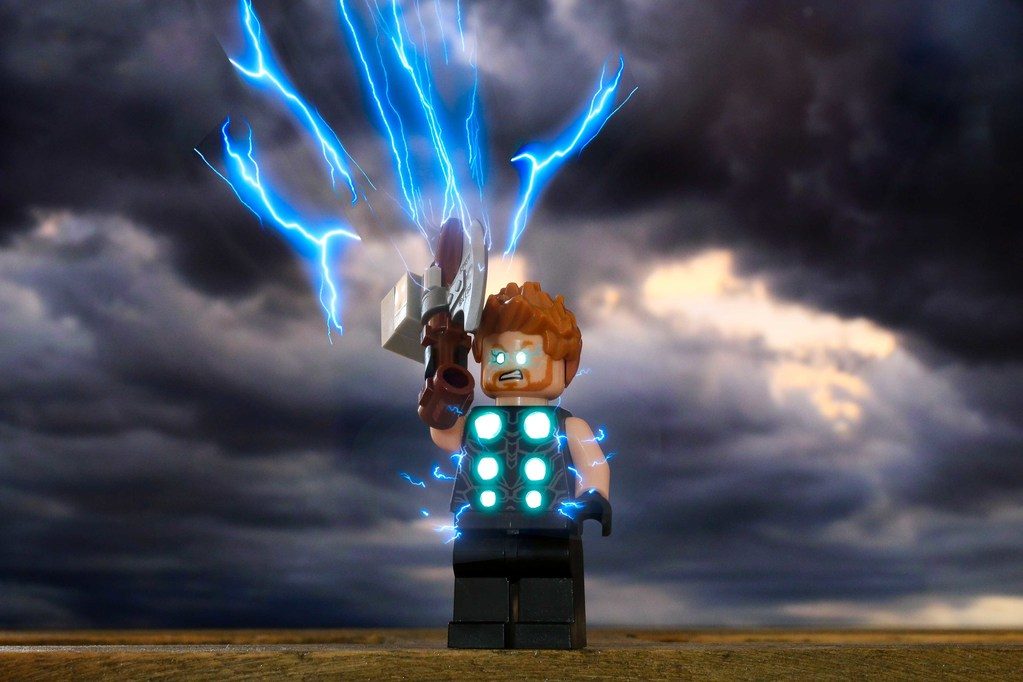
It turned out not to be as hard as I’d expected. Using the images of lightning from the video I used the place function to get the lightening into the scene. In fact there are 8 separate placements of lightning in the final image. They’re all skewed and brushed to blend in with the image.
Once that was done I really wanted to accentuate the thunder god’s eyes and his costume. This meant using the selection tool to create a fill that I could increase the levels for so that it would stand out.
Here is the final edit.
In skill acquisition I believe that once it has been learned it should be repeated. Preferably as soon as possible. So here is the second photo I decided to create.
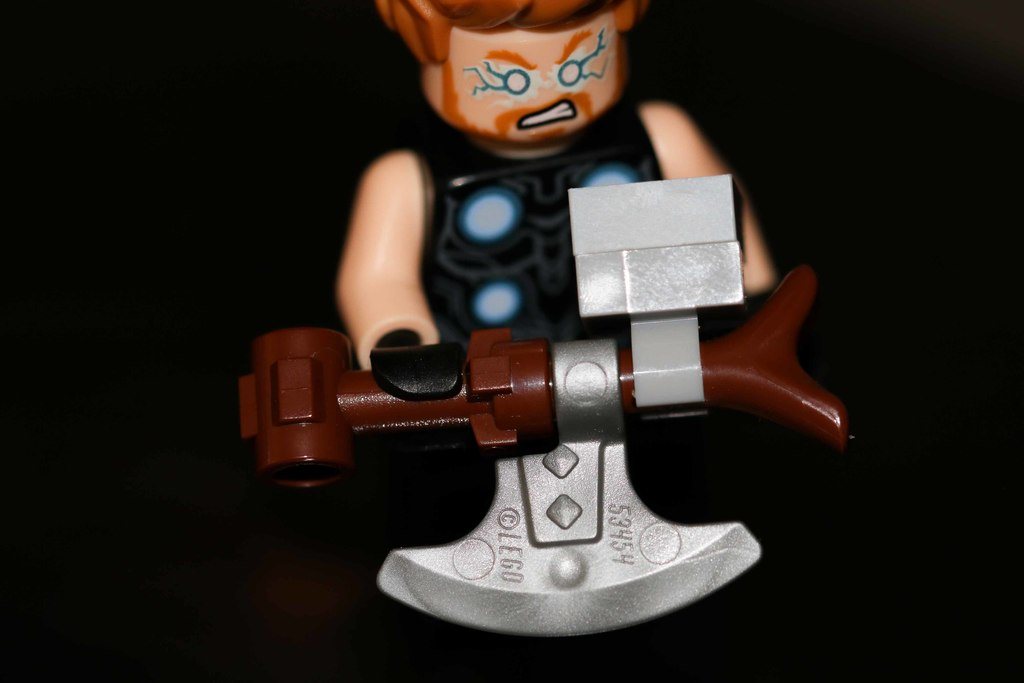
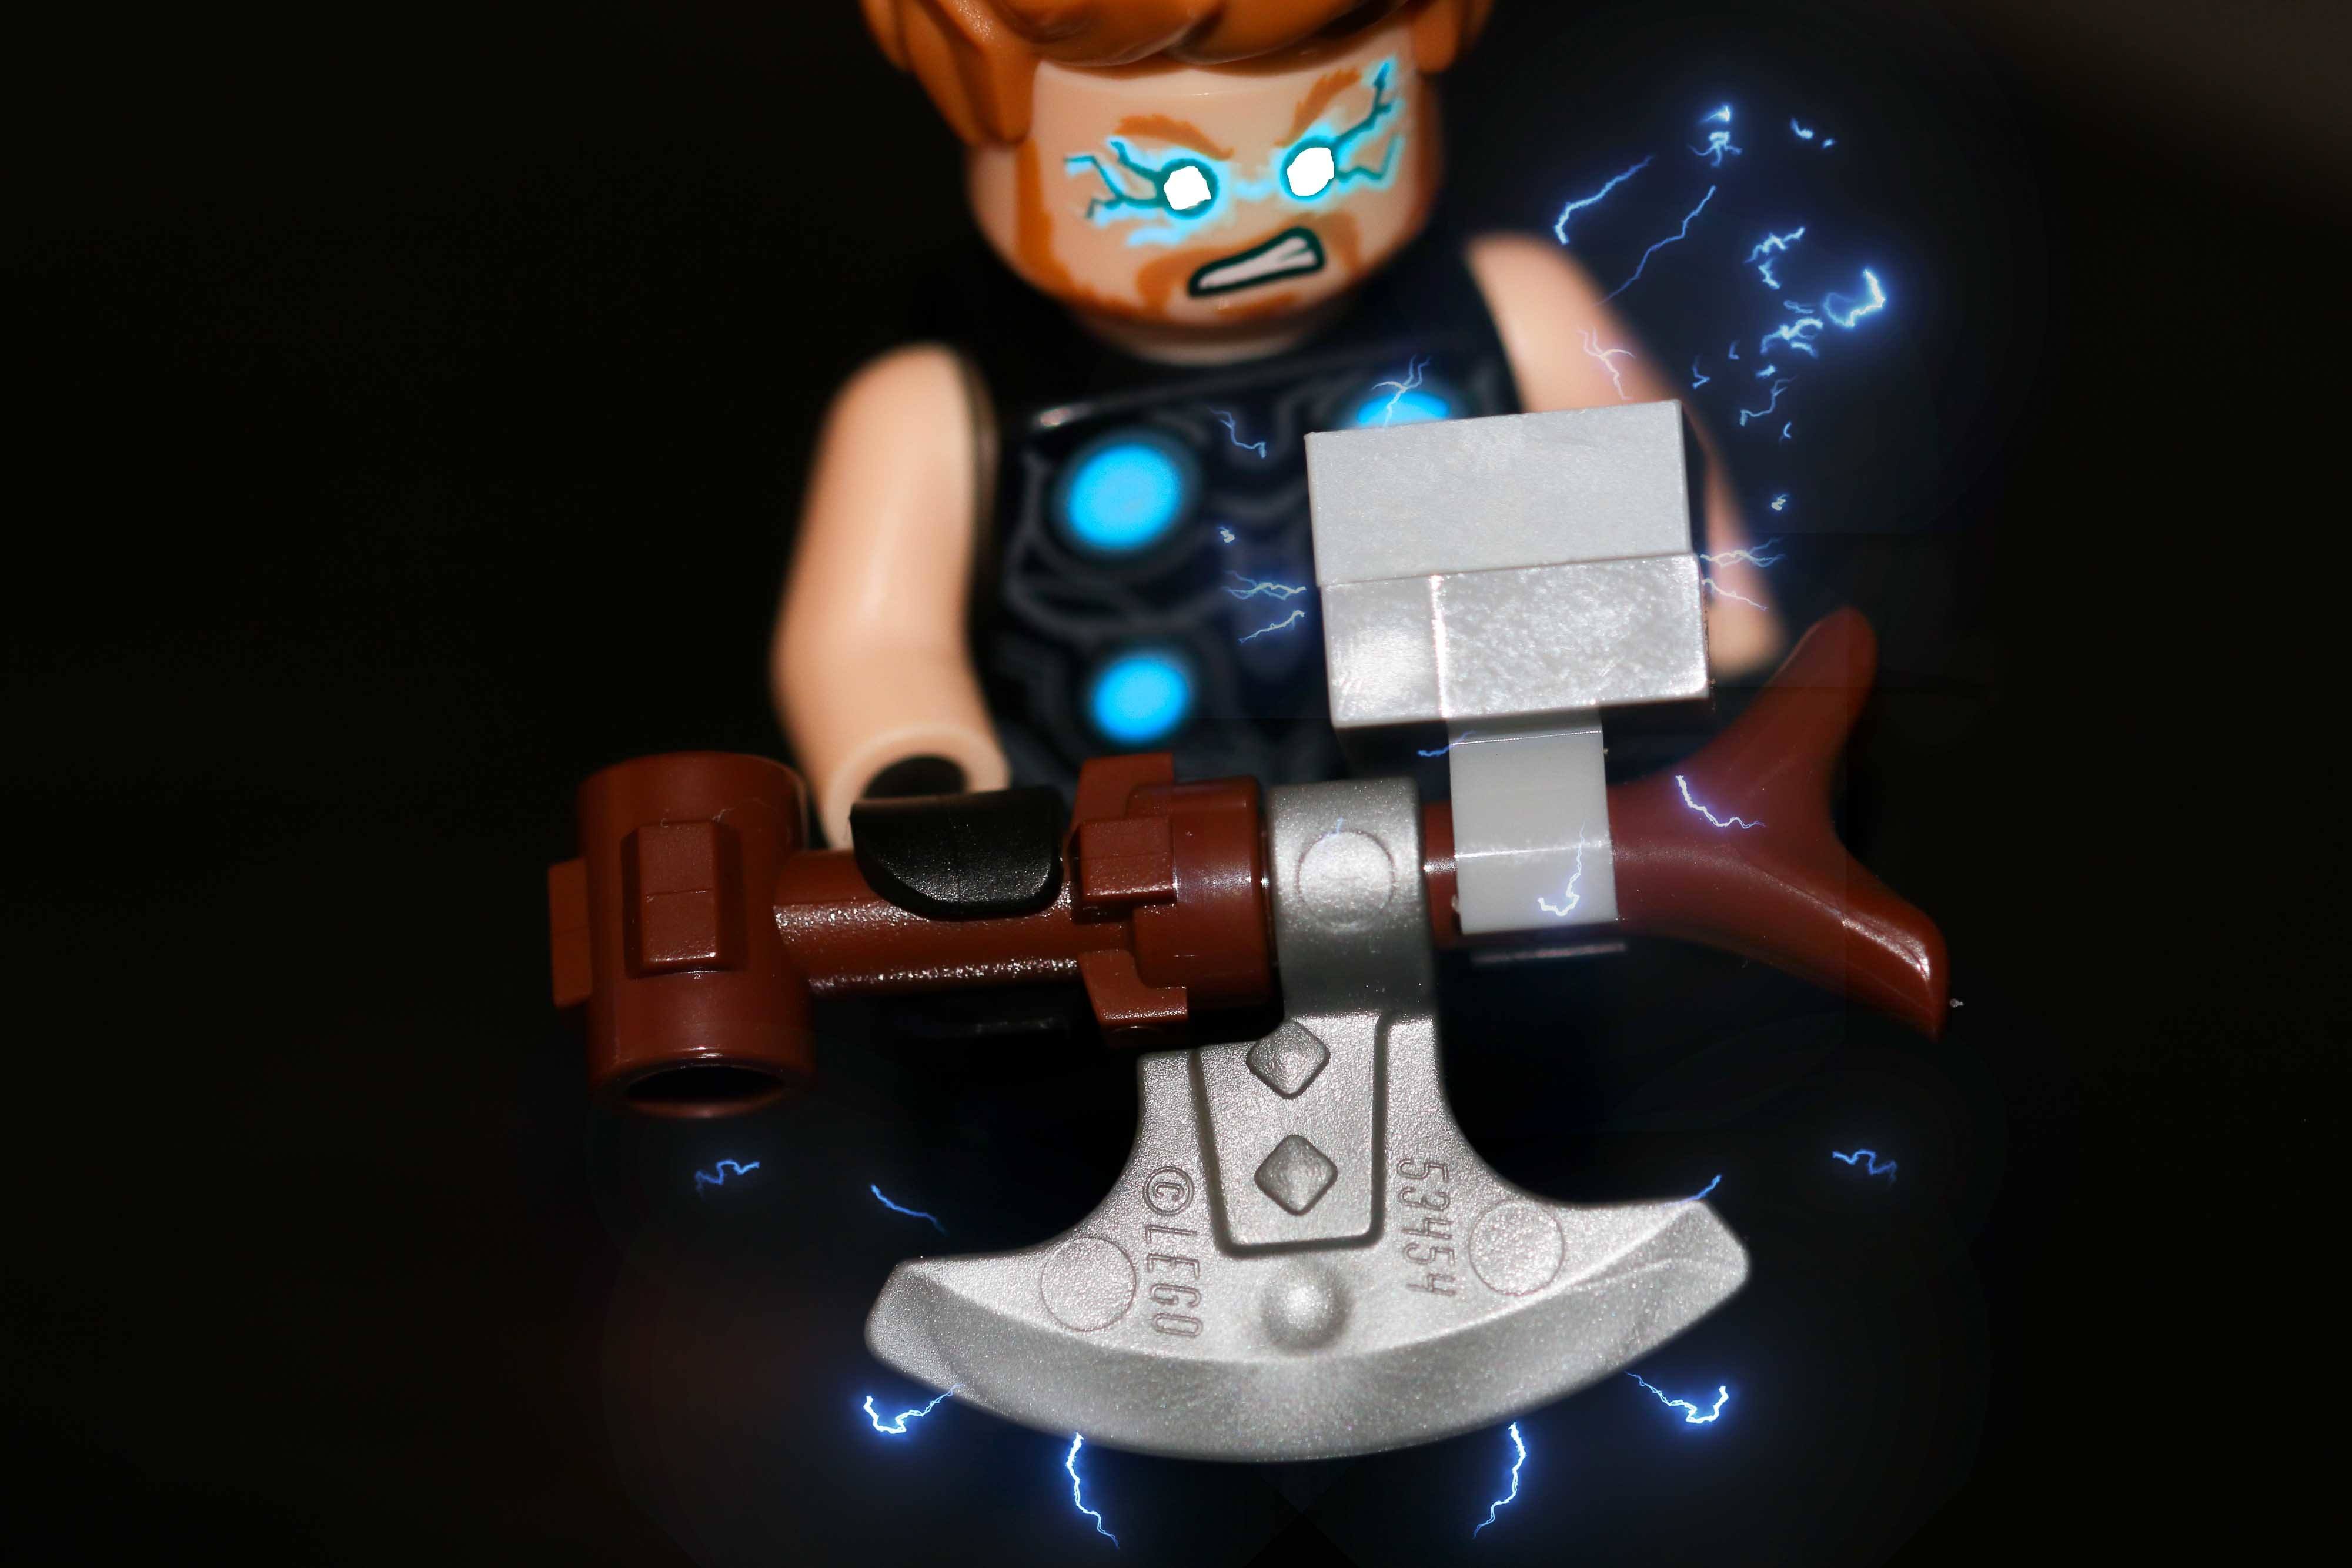
This time I really wanted the image to be more about Thor’s new hammer. Thor is actually stood on an iPad with it’s screen off to create a low key black background. Not much lightroom editing was needed so it was straight into photoshop to add the lightning. Once that was done, I again added the eyes and costume “electricity” repeating the skills I’d just learned.
And here is the final image.
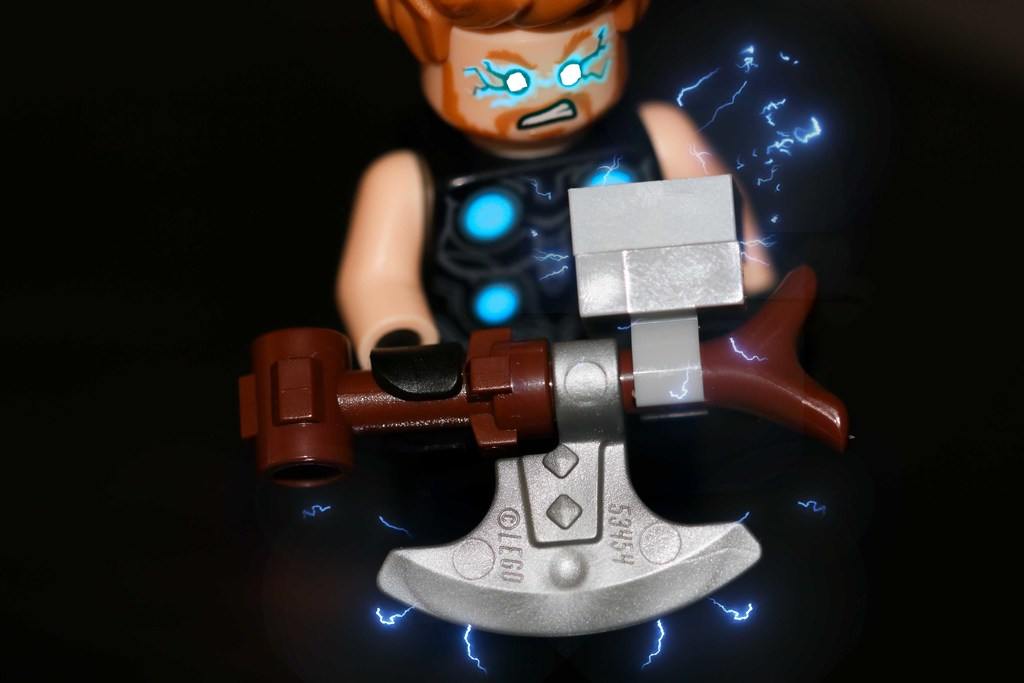
A lot more understated but I actually prefer this image.
Thank you for reading. I’d love to hear what you think and if you have any tips. What would you have done differently. Please leave a comment or use the contact form and get in touch. I’d love to hear from you.