
Zane Revisited
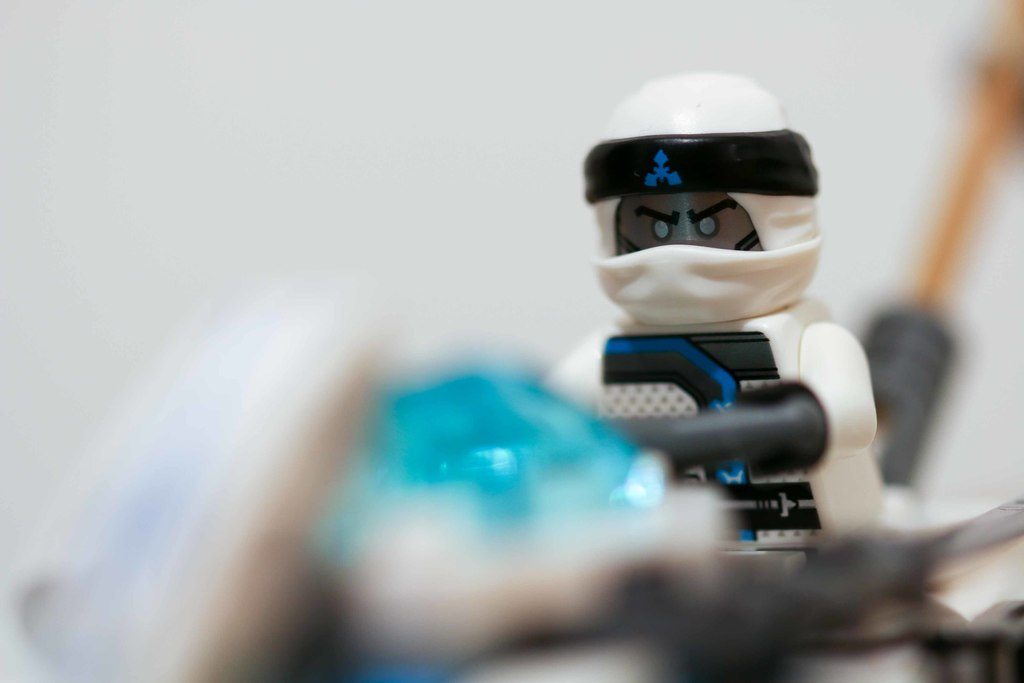
I’ve been learning and practicing a lot over this last month so I decided to revisit an old ninjago shot of Zane and see what changes I can make. I was pretty happy with the original shot but at the time I hadn’t learned anything about photoshop. Here is the original image (for those who haven’t seen it on my instagram).
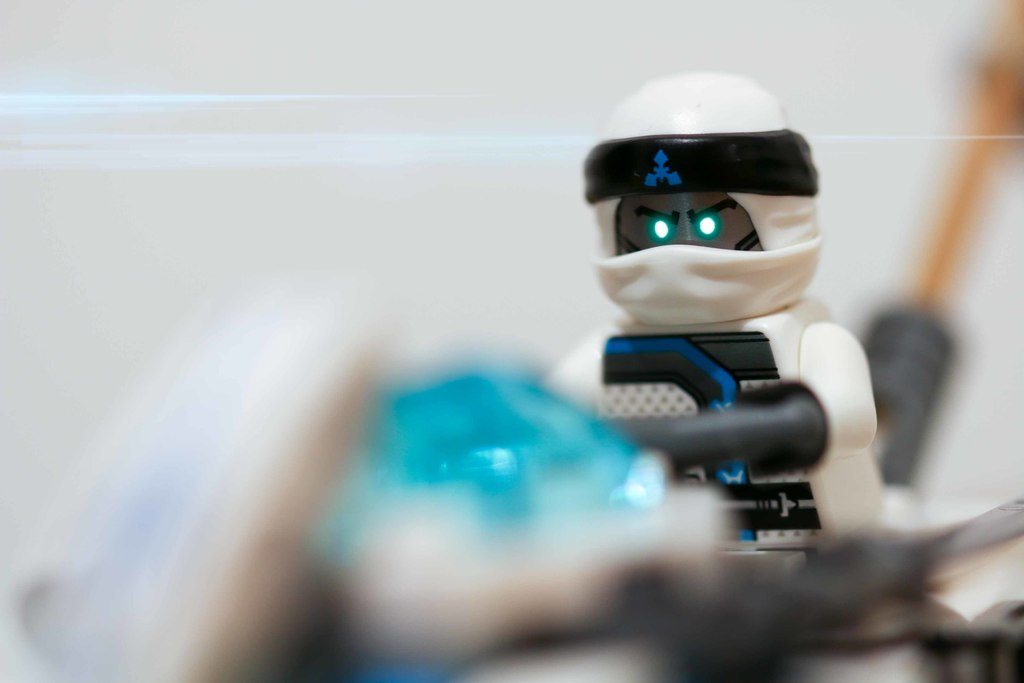
My first job in photoshop was to select the eyes to really make them stand out. I used a colour fill layer to make them white, then added some gaussian blur (only set to 4). In the layer style options I added a glow to add drama to the image. My goal was to make Zane look more intense, as if he was riding into battle.

Next I placed a lens flare on the top third of the image. Initially it went across the front of his face, so I used a mask to remove that and make it a background effect. The original flare was a bit too blue for my taste so I used a hue/saturation layer to make it a bit lighter and closer to the ice feel I was going for. (He is the ice ninja after all.)
Lastly, I needed so atmosphere so I used a sparks image. Again I used to hue/saturation layer to change it from sparks to more blue and therefore ice. Using the black foreground colour I painted out the sparks on his face and – at a 50% opacity – reduced the sparks on his body.
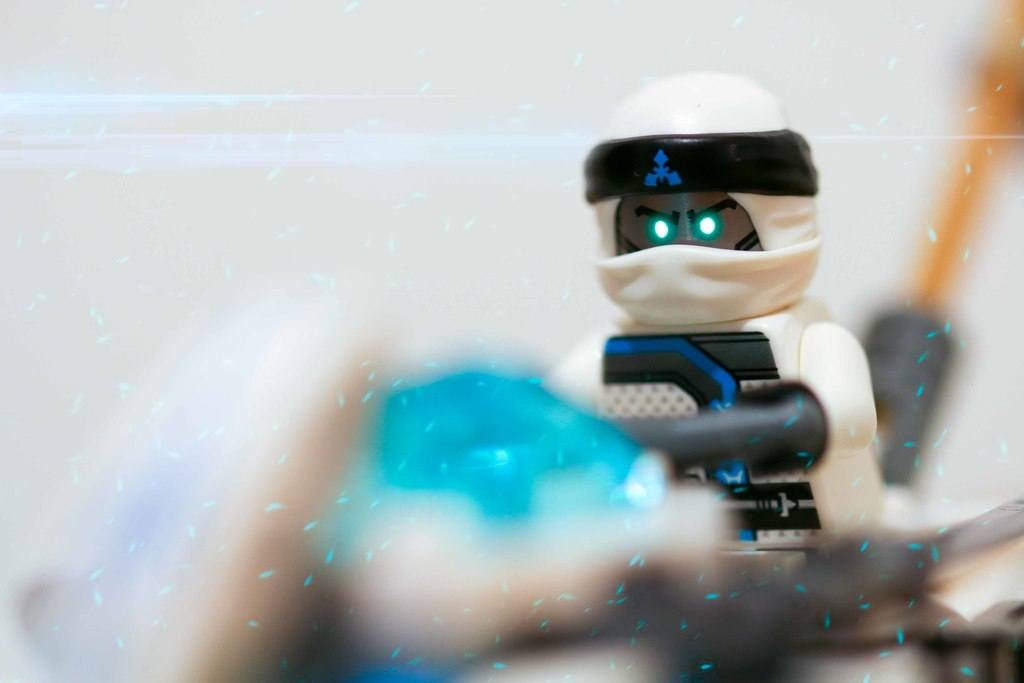
I hope you like the final image. I like how some quick edits can give an old image new life. Now it’s time to play with Zane and take down Lord Garmadon.